Talk of pie, turnovers and sorbet occurred, but we kept coming back to: jam. While I've made fridge/freezer jam before, I've never actually made canned jam, and I was eager to try. I was also a little nervous. While canning is amazing stuff, it's also intimidating...making sure you do everything properly so you can correctly and everything preserves. I figured jam was an easy place to start (who knows...are pickles next?!)
And you know what? It was. So much so that I can see myself making another batch of strawberry jam and probably some blueberry as well. And who knows...perhaps some jelly is in our future as well.
The process was pretty simple. (but, it helped I had a second pair of hands to help in the form of my friend Hannah)
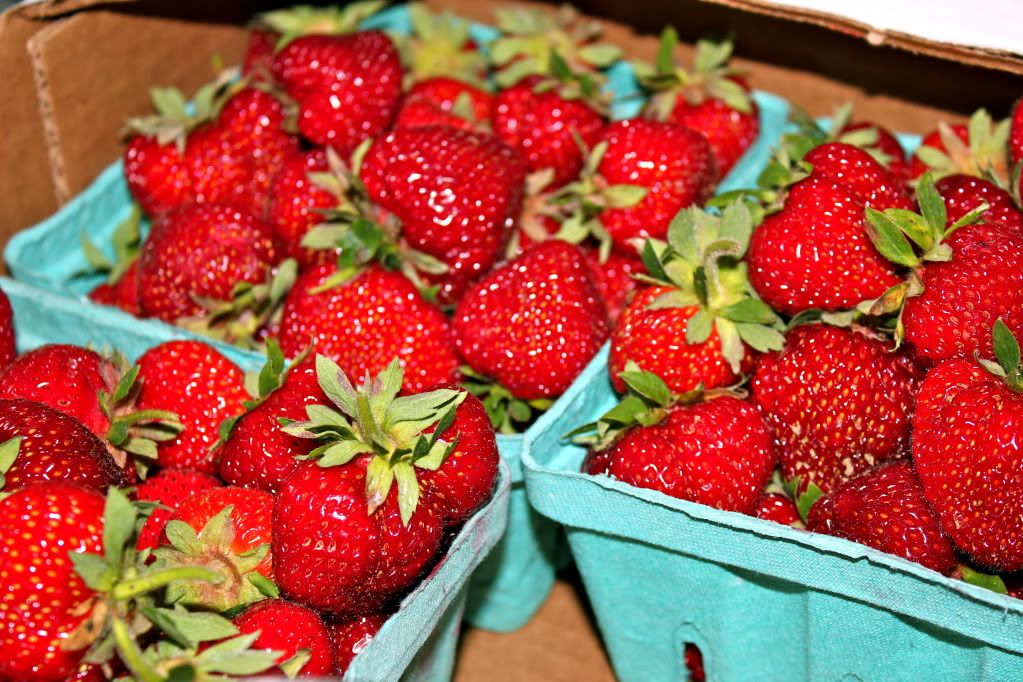
I destemmed and hulled about 2.5 quarts of freshly picked strawberries. We then mashed them (with a potato masher) to the consistency we wanted (still a bit chunky!).
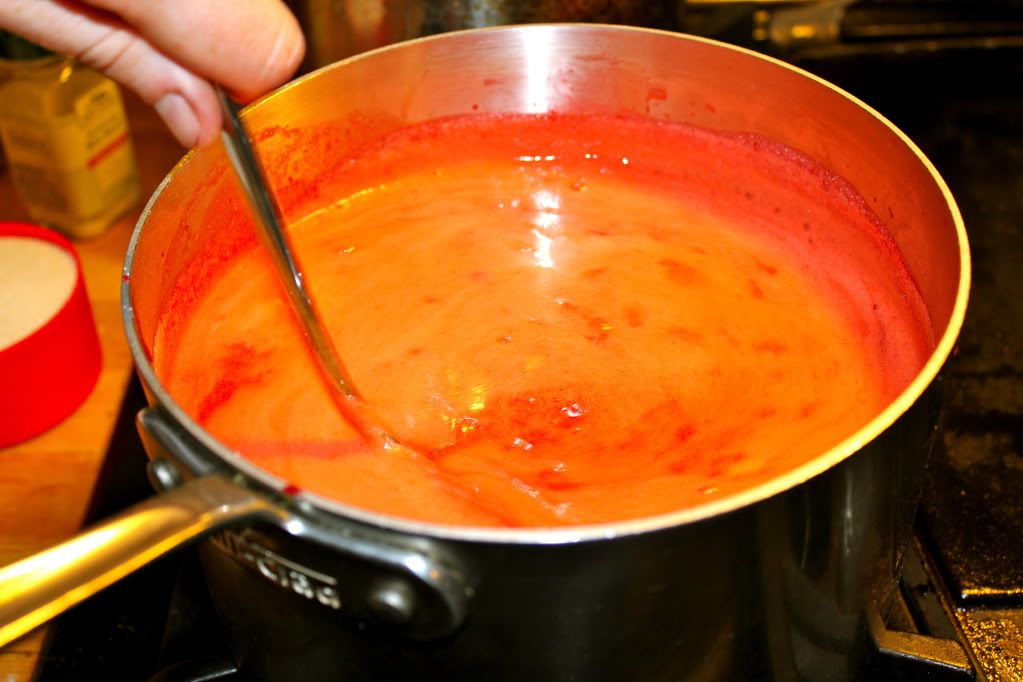
After adding a packet of pectin (we went with the "no sugar needed" kind), cup of apple juice and a few squeezes of lemon juice we brought the mixture to a rapid boil, stirring the whole time.
While the strawberries were cooking, we prepped the jars, steeping the lids and jars in warm water so they wouldn't cracked once we added the jam.
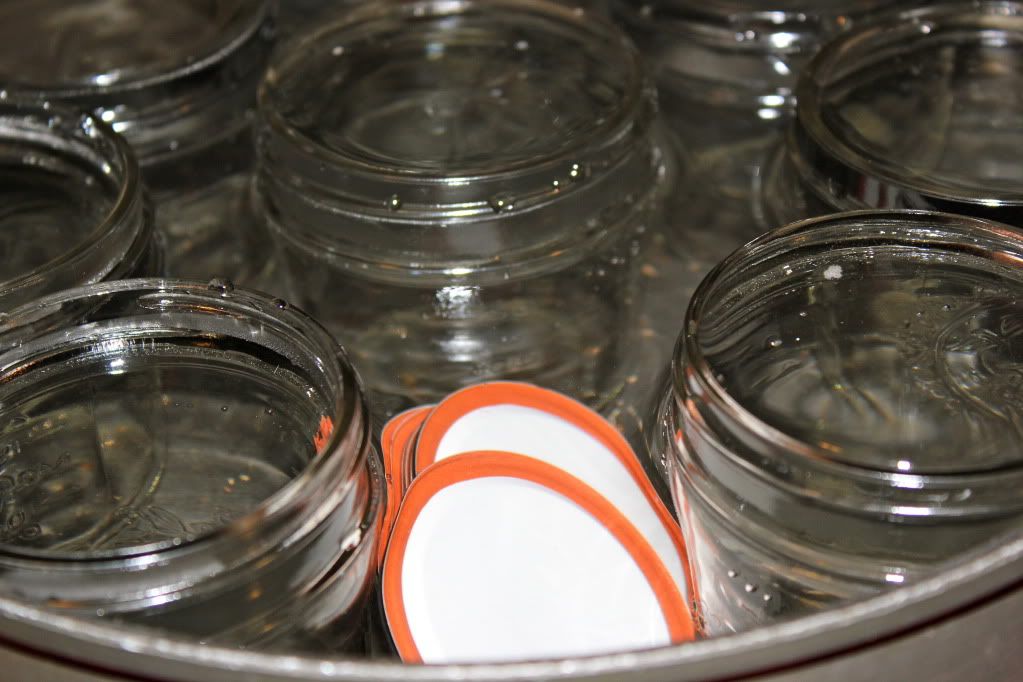 |
| Prepping the jars |
After adding about 1/2 cup of sugar to the strawberry mixture, we stirred and cooked for another few minutes. I shut the mixture off and got to working prepping the jars. I already had a huge pot of water boiling away on another burner, reading to process the jams.
I filled each jar almost all the way to the top, leaving about a 1/4" of space. I carefully placed the lid and then twisted on the band. I gently dropped the filled jars into the pot of boiling water. Once all jars were in, I added a bit more water so it covered the jars by 1-2" and brought it back to a steady boil.
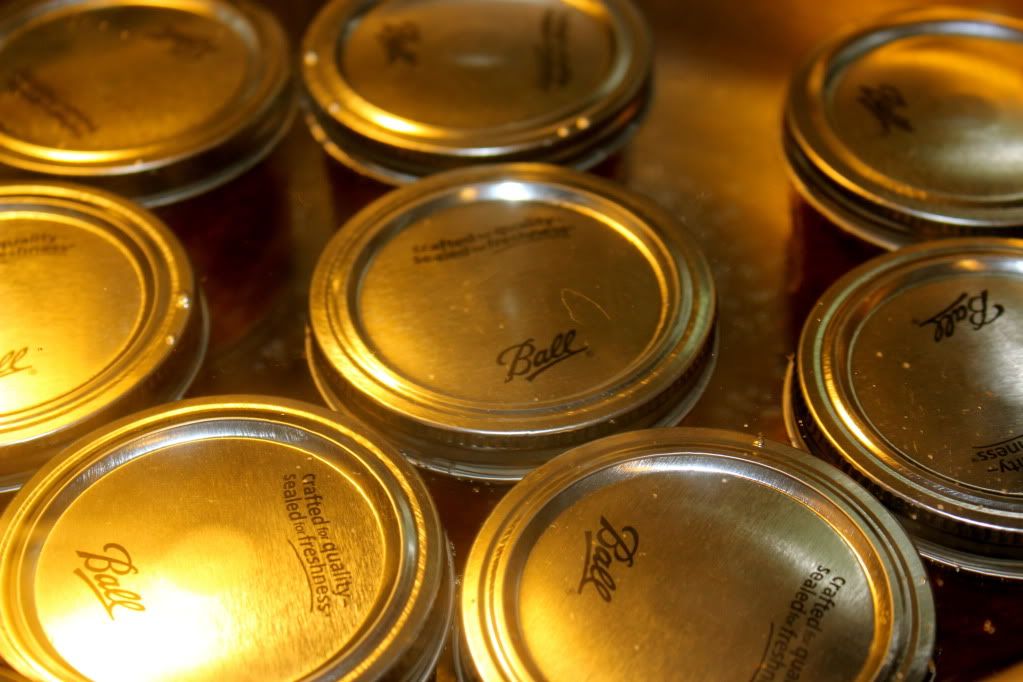 |
| Jam filled jars ready to be processed. |
Covering the pot, I let it go for 12 minutes. Once done, I shut off the water, let it cool down and then placed the jars on a towel to finishing setting.
I was happy to see that all but one sealed properly, and one more dip in the boiling water bath with a second batch of jams solved that problem easily. In the end we had 10 jars of jam, ready to sit up on our shelves (or to be consummed asap, which is the more likely scenario!).

Upon first taste, I've decided that the consistency is more like a really thick topping rather than a fully firm jam, but I think it's because we used too many strawberries. It still tastes absolutely phenomenal and works perfectly on toast and drizzled over ice cream, so overall, I'd call my first experiment with canning a success!
No comments:
Post a Comment