Tuesday, March 29, 2011

A Tale of Two Potatoes


Last night's potluck dwindled down as families checked out for a variety of reasons...illness, guests, travel. So, instead of giving up all together, Hannah & Sina decided to come over, and we had a mini potluck of two mamas and two kids. 

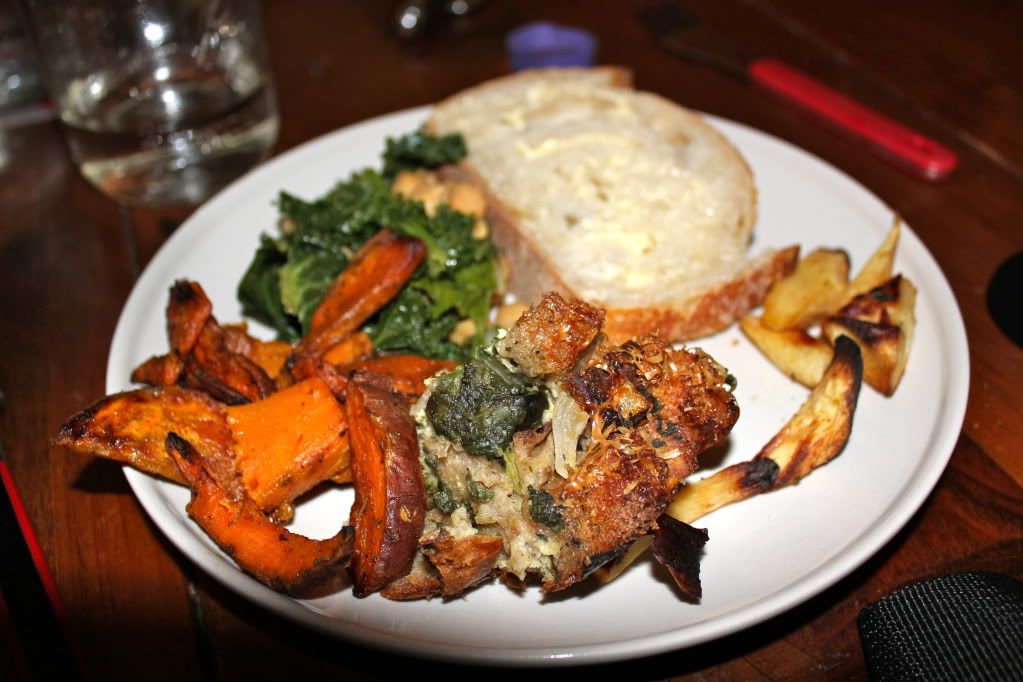
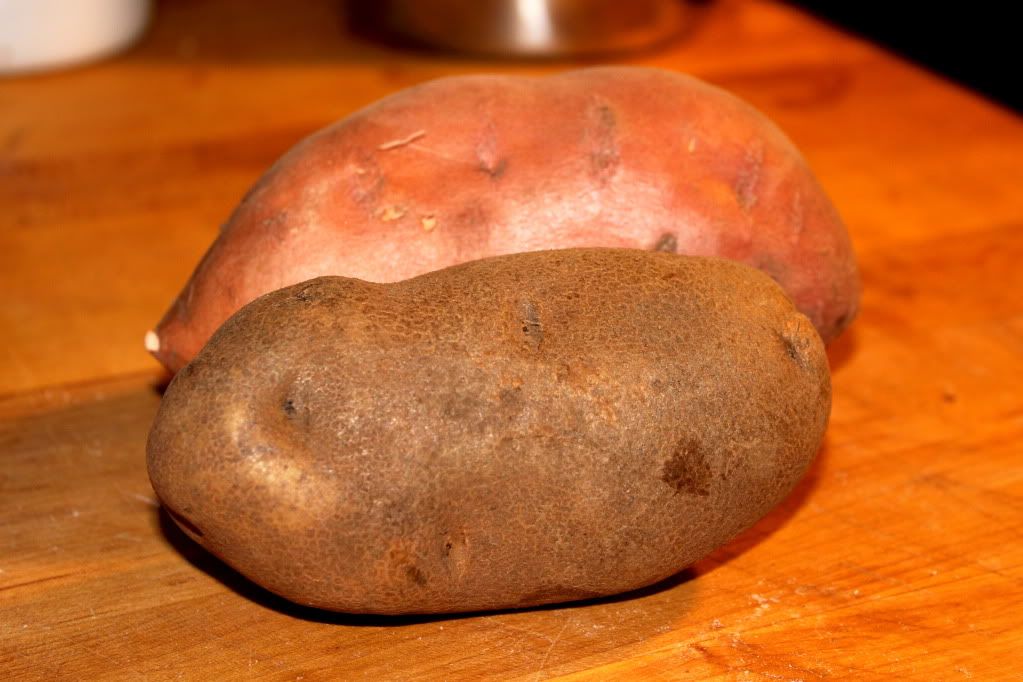
Two seemed to be the magic number of the night, as I had already started on my potluck dish(es) for the night, and decided to go through with them. It was a duo of potatoes...one dish made with good old regular Idaho potatoes, and the other made with delicious sweet potatoes. 

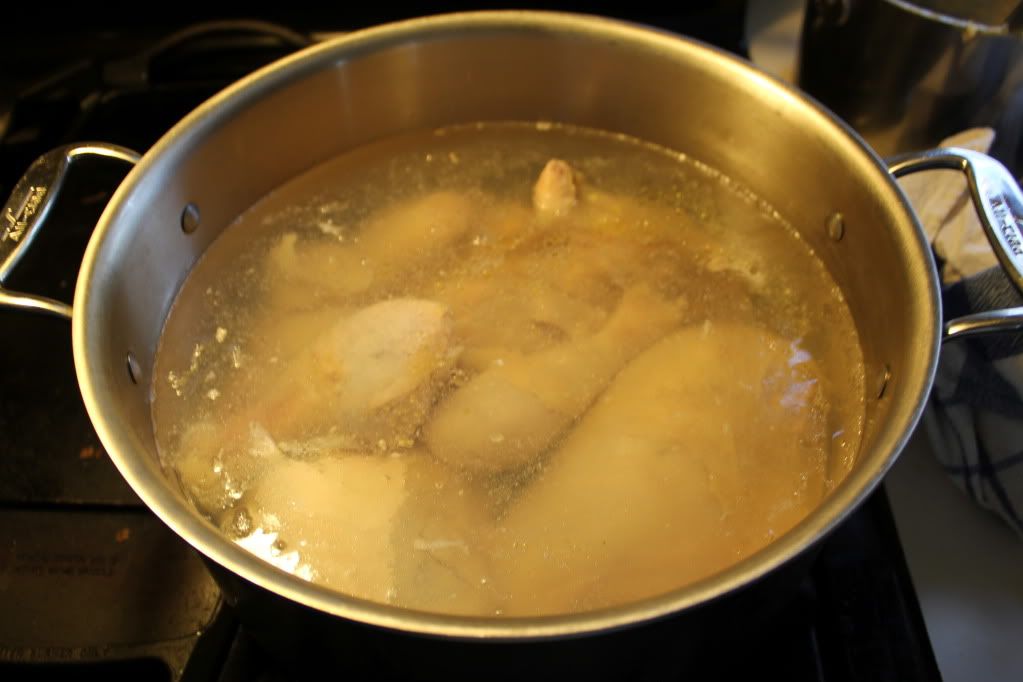
I quartered the Idaho 'taters and tossed them in salted water and boiled them for a half an hour or so. 


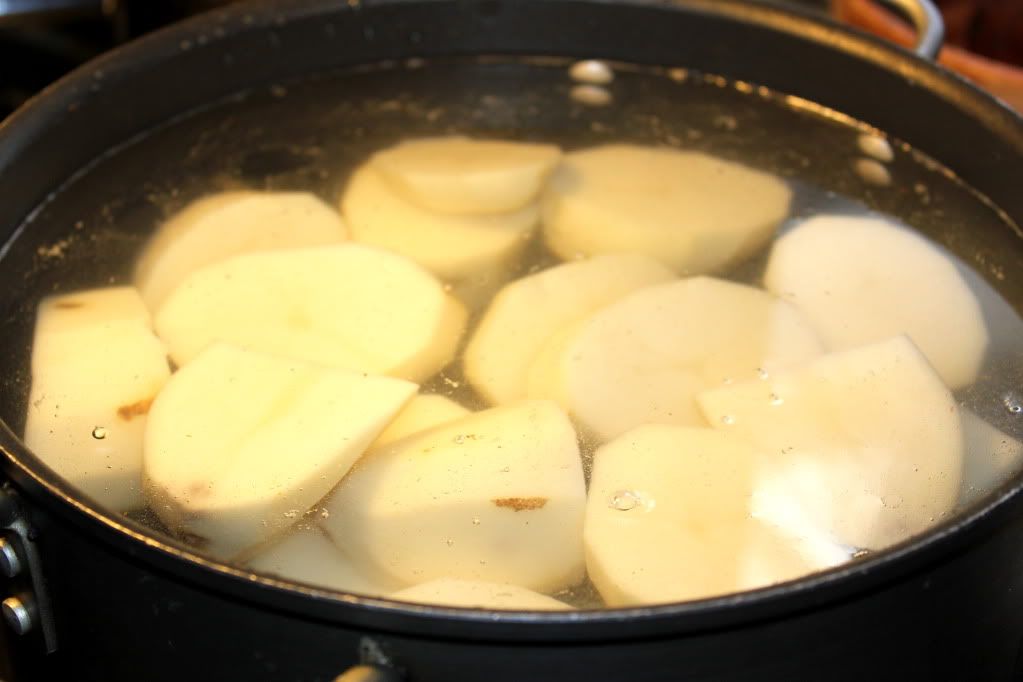
Once drained, I added copious amounts of butter, salt and milk, used my hand blender and...voila...simple mashed potatoes. (Which I neglected to take a picture of...oops).

For the sweet potatoes, I went another route. I have been all about curry lately. I am pretty certain I could eat yellow curry with pineapples and veggies pretty much all day long. I figured what better way to spice up the sweet potatoes then with a little curry. I also got to use one of my favorite kitchen gadgets for this one, so that didn't hurt either. 

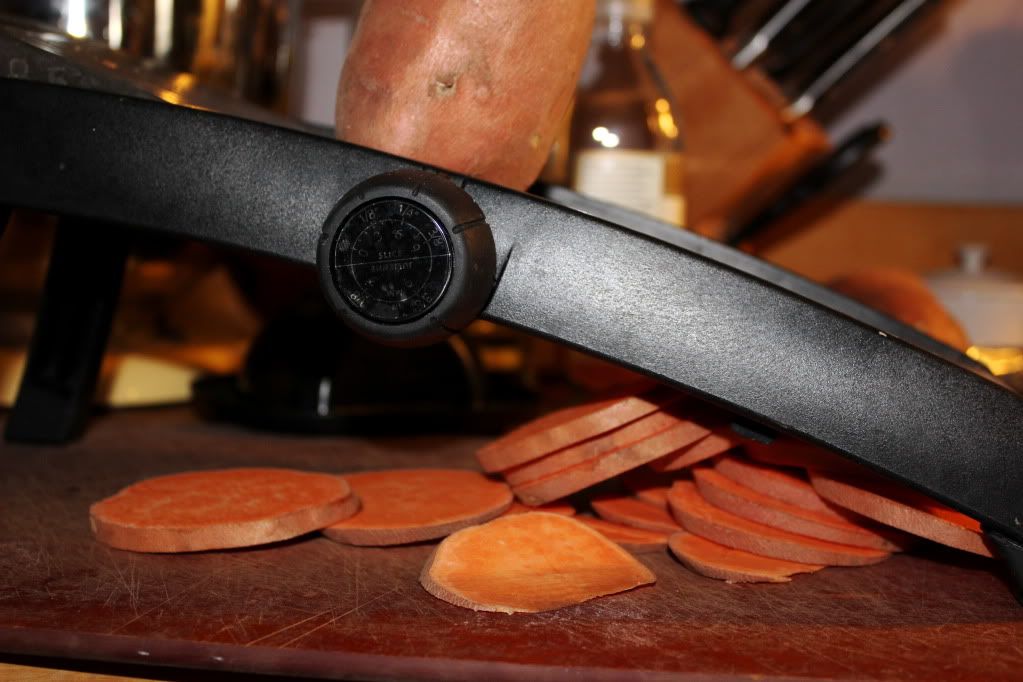
I grabbed my trusty mandoline and sliced 1/4" thick rounds of sweet potato (leaving the skin on). In retrospect, I would probably slice them a bit thinner next time for a "chippier" consistency (although Hannah said she preferred the chewier texture of the thicker chips). 


I tossed the slices into a bag with a tablespoon of olive oil, a few pinches of salt, and a tablespoon of curry powder. Shake it up a bit and then place in a single layer on a foil lined baking pan. 


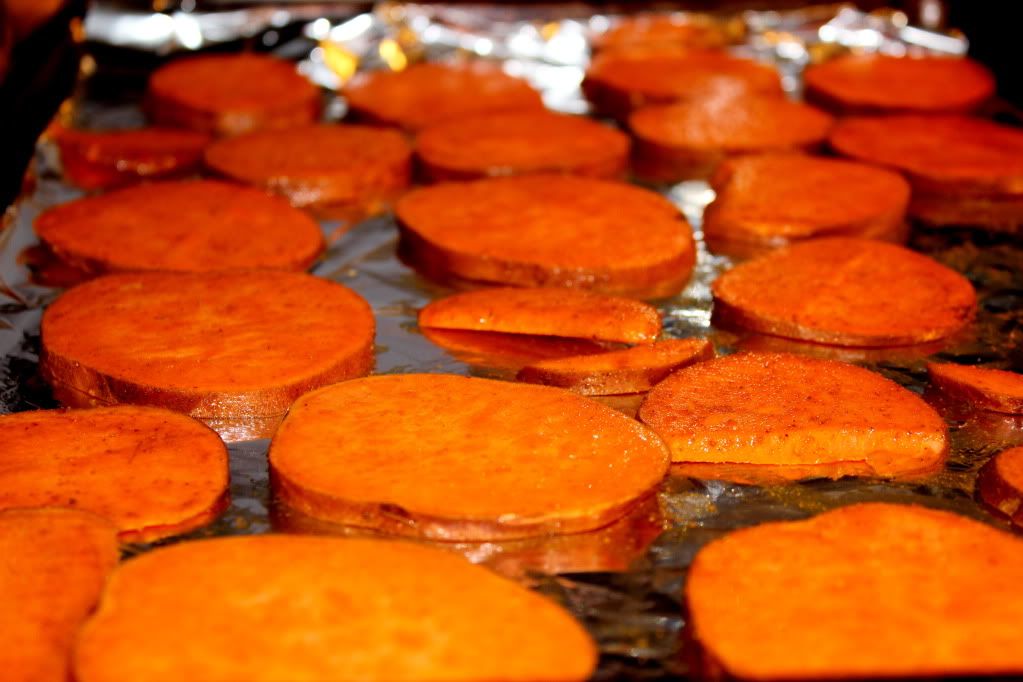
I cooked them at 400* for around 40 minutes, flipping them halfway through. Of course, I didn't get a final picture of these either, but I probably wouldn't have had a chance, as both the mamas and kids gobbled them up in record time. These are definitely going to work their way into the snack rotation in our house. 

Friday, March 25, 2011

Fluffy Frosting Fun

(This is a guest post from my husband...not only did he bake for my birthday, but he blogged as well!)

It isn't a birthday without a cake and you shouldn't have to bake one for yourself so the boys invaded the kitchen and the computer for this birthday post.  A chocolate cake with some type of buttercream was requested.

The regular blogger has been known to sit with a bowl, a spoon, and a smile and later complain of belly aches when there has been leftover buttercream from icing previous cakes so we were looking for a special buttercream.  A co-worker had brought in red-velvet whoopie pie's with marshmallow buttercream and I was sold. While I couldn't find fancy marshmallow cream, most recipes said Fluff will suffice and it most certainly did.


As far as the cake goes my instructions are as follows:

Find your favorite search engine...google, yahoo or, if you want your favorite food personalities, go to foodtv.com and type in chocolate cake.  Pick a recipe that fits your schedule and supplies and go from there.  Lets be honest, this cake is merely a marshmallow buttercream vehicle.  I like multi layer cakes, so we baked two 8 inch rounds and sliced off the top of one to flatten it out for stacking and be able to nibble on the cake (a must when your assistant is a four-year old).


Next the icing:

Have your assistant slice two sticks of softened, unsalted butter into little pieces and throw them into the mixer and beat on high until light and fluffy (a couple of minutes).

Next add 7 ounces of marshmallow fluff or 3/4 cup marshmallow creme (I looked in 3 stores and couldn't find anything fancier than fluff) again beat on high till light and fluffy.

For the write-in portion of the program, if anyone has a good way to get 7oz of fluff out of the jar and into a spinning kitchen-aid mixer without covering yourself in sweet, sticky fluffness, I would love your suggestions.


Moving on...turn the mixer to low and add a teaspoon of vanilla extract, then slowly add 1/2 to 1 cup (depending on desired sweetness) of sifted confectioners sugar until combined, then turn mixer to high until...you guessed it....light and fluffy.


In honor of spring, birthdays, and just the fact that we have neon food coloring we decided to kick it up a  notch and make a bright three-color cake.


While Elijah wanted a rainbow on top, dad's decorating skills and flat spatula (thank you pharmacy conference) weren't up to the task so we ended up with more of a sunflower type of look and it was delicious.


- An Almost Chef's husband

Tuesday, March 22, 2011

Chickpeas & Kale

It was my birthday yesterday, and what better way to celebrate then with sharing a potluck dinner? I wasn't really in the mood for a big fuss or fanfare, and so being able to celebrate in a relatively low key manner, with a gathering of friends that was already scheduled into my day, was perfect.

Since it was my "big day" and all, my husband said he would cook for potluck, baking me a special cake. In fact, he'll be guest blogging all about his cake-making experience later this week!

However, that didn't mean that I wasn't going to cook as well. I whipped up a quick batch of chickpeas and kale amidst flour, sugar & Fluff being tossed around the kitchen. This dish is a great one for using up those dark leafy greens, and better yet - it's simple and cooks up in a hurry.

Ingredients:

1 bunch kale (we went with curly kale)

1 can of chickpeas, rinsed

3 cloves garlic, minced

2-3 teaspoons of olive oil

cumin, coriander & a pinch of cinnamon (I eyeball the spices to taste...clearly this is more recipe-ish than recipe).

salt & pepper

Directions:

Start by steaming the kale. You can steam it in water (which is what I did) or chicken/vegetable stock to give it a bit more flavor. I wash and tear up the kale first and put it in a saucepan. Then I add enough liquid to cover the bottom of the pan. Cover the pan, turn the heat up to medium and cook about 7 minutes, keeping an eye on the kale and make sure the liquid doesn't dry up. You want it to keep it's lovely color and not wilt too much.


Once the kale is cooked, drain and set aside. Heat up oil in the pan and add the garlic, cooking for about 2-3 minutes.


Add the chickpeas, spices & salt & pepper, cooking for another five minutes or so, stirring occasionally.

Re: spices... I probably go w/a tablespoon of cumin, teaspoon of coriander & a pinch of cinnamon

Toss the kale back in for a quick stir, and then serve... hot or warm!


You can add a splash of lemon juice on top before serving (I completely spaced and forgot to bring my lemon to potluck, so unfortunately, we went without, but it was still tasty).

We ended up having a wonderful meal, and I couldn't have asked for more on my birthday. The chickpeas & kale went nicely with the savory bread pudding, sweet potato fries, parsnips and fresh bread & butter.

Thursday, March 17, 2011

Nomentashen

It's hard to pinpoint my absolute favorite food that goes along with Jewish holidays. I could try, I'm sure...but once I start to think about brisket and matzah ball soup and stuffed cabbage and honey cake, it all gets a little bit hazy, and I get a lot hungry.

Purim is no exception.

The holiday as a whole might be up there as one of my favorites. What's there not to like? Dressing up in costume, eating delicious treats, drinking wine, shouting and making loud noise, listening to an interesting story...it's all pretty special.

And so, in an attempt to harness some of the awesomeness that is Purim, the kiddo and I decided to make some Hamentashen yesterday. Hamentashen are cookies formed into triangles and are made to remember the villain of the Purim story, Hamen. There are a variety of recipes, but it's basically a cookie dough filled with deliciousness. This is our version.

Ingredients

The recipe only calls for 2 eggs...don't mind those other two stragglers - they became breakfast!

2 cups of all purpose flour
1 tsp baking powder
1/4 tsp salt
1/4 cup sugar
1 tsp orange zest
2 eggs
1/4 cup oil
1/8 cup orange juice
Filling of your choice (this can be anything you like. Traditional filling is prune, poppyseed or fruit jam.)

Our filling

Directions

1. Sift all dry ingredients together and mix with orange zest.

This recipe is super kid friendly, so don't be shy about getting them into the mix


2. Make a well inside the dry ingredients and crack both eggs into there. Add oil and orange juice and then stir to combine.


3. Knead dough and then dump out onto floured surface. Using a rolling pin, flatten to 1/8".


4. Cut out circles from dough about 2.5" in diameter. We just used a drinking glass and it came out fine.


5. This is where having a little sous-chef comes in handy. He cut out the circles while I filled them up. Spoon 1-2 teaspoons of filling into the center of the circle and fold up sides to make a triangle, pinching at the corners. We made half the dough with apricot jam filling and the other half with Nutella. 

Nutella

Apricot

6. Bake in a preheated 350* oven for 20-25 minutes, until golden brown.

Apricot Hamentashen cooling off

Nutella Hamentashen ready to be devoured

Allow to cool before scarfing down with a glass of milk. These are so good, you might just want to share them. Or not. 

Tuesday, March 15, 2011

Color Wheel Cooking


There is a lot of discussion over "Colorful Cooking" lately. In my mind, I'm wondering why all of a sudden it seems revolutionary to eat a colorful variety of food. While new diets are emerging, prompting people to 'eat the colors of the rainbow,' I feel like this concept is really as old as time, and biologically ingrained in us.

Just like we like to look at things that please us aesthetically, it only makes sense that we'd like to eat in a similar fashion. So much fuss is made over beautiful presentation in fancy restaurants, that sometimes we forget the most basic and simplest form of beauty...color.

Last night's potluck helped remind me of that, as our plates were truly bursting with a variety of color and that transfered into the enjoyment of the meal. Of course, I neglected to bring my camera, so there are no pictures. Instead, you'll have to use your imagination to visualize the bright, orange pureed butternut squash (sweetened with home tapped/boiled maple syrup!), strikingly beautiful and tasty roasted red beets, salad greens peppered with orange carrots, slivers of translucent green celery and clumps of feta cheese. We also had marinated baked tofu and brown rice dotted with dark, leafy greens.

Topped off with some leftover almond spice cookies, the meal was a vivid reminder that eating can be fun, beautiful and tasty.

While I don't have pictures from the actual potluck, I do have some pictures of what *I* made - cheesy greens & rice. Super easy and super delicious.

Start by sauteing up one small onion and a clove or two of garlic in some olive oil. Cook over medium heat for about 5 minutes. Add 1.5 cups of brown rice, 2.5 cups of water/broth (I used leftover, strained chicken soup) some salt & pepper. Bring to a boil and then place in a 375* oven.


Cook for about 40 minutes then add a bunch of shredded greens (we went with kale) and a handful or two of shredded cheese (we used cheddar). If the rice is looking dry, add a bit more water or broth. Stir it up and bake for another 10 minutes.

Saturday, March 12, 2011

Tea Is For Cookie

Do you think the song would have caught on if Cookie Monster held his furry, blue pinky out while sipping some Earl Grey?


Hmm...probably not. But, since I'm not a coffee drinker <gasp!> I'm always on the look out for cookies that will pair nicely with a nice, hot cup of tea. I think I may have found just the one with this Spiced Almond Wafer. 

This cookie is another one from my Martha Stewart Cookie Book, and it will definitely be one that I'll be  making again. Not only were they tasty, but they were pretty easy to make. 

Ingredients


3 cups flour
1 teaspoon baking soda
1/4 teaspoon salt
2 sticks unsalted butter at room temp
1 1/2 cups packed dark brown sugar
2 large eggs
2 teaspoons ground cinnamon
1 1/2 teaspoons ground ginger
1/2 teaspoon ground nutmeg
1/4 teaspoon ground cloves
1/4 cup sliced, blanched almonds

Directions

1. Line two mini loaf pans with plastic wrap. I got crafty here and used one mini loaf pan and a plastic mini box from my son's lunch box. Unlike Martha, I don't just have mini loaf pans laying around. 

2. Whisk together flour, baking soda & salt. Beat butter and sugar with a mixer on medium speed for 4 minutes. Reduce speed to low and add in eggs and spices. 


Beat in flour mixture in 3 additions.


3. Press cookie dough into pans and cover tightly with plastic wrap. Freeze for 1 1/2 hours or up to one month! 
An "Almost Chef" sighting! Pressing the dough into the mini loaf pans

1 actual mini loaf pan (in back) and 1 makeshift pan - worked out perfectly

4. Preheat oven to 400 degrees. Remove dough from 1 pan. Let soften slightly. 


Cut eight 1/8-inch- thick slices with sharp knife. Unlike Martha, my knife skills aren't all that amazing, so, I have no idea the exact thickness of my slices, but I managed to get a lot. 

5. Cover remaining dough and freeze until ready to use. Place slices 1 1/2 inches apart on a cookie sheet lined with a nonstick baking mat. I used parchment paper, and probably didn't space them that far apart either. Look at me breaking all the rules! 

Don't forget to press a few almond slices on each cookie right before you bake them!


And you know what? They came out just as well...

6. Bake until dark golden brown, about 10 minutes. Let cool on sheet on a wire rack. 


Read more at Marthastewart.com: Spiced Almond Wafers - Martha Stewart Recipes 

The cookies ended up being the perfect compliment to a nice mug of tea, although my folks (who enjoyed a fresh batch themselves) suggested easing up on the ginger. The nice thing about these cookies is that you can adjust the spices to your own taste...jazz them up, tame them down...either way, the texture and sweetness is probably just enough to get Cookie monster to change his tune...

Thursday, March 10, 2011

Grocery Store Wars

This video came out almost 5 years ago, but it still has relevance today (and...I needed a bit of a chuckle on this grey, rainy day).

Tuesday, March 8, 2011

Soup for the Sick

While friends and acquaintances seemed to have been dropping like flies, succumbing to various winter-time illnesses, I had been patting myself on the back because my family had remained relatively healthy during this season.

Of course...as soon as I remarked at how well we'd been doing health-wise...BAM! We were hit with the most ridiculous, life-sucking virus ever. It started with my son, who came down with a fever that lasted five days. At times the poor boy heated up as high as 104 degrees and we were treated to fever induced babbling that included gems like "No! The TV goes over there. I need my jelly and peanut butter sandwich. Where's the dog?" (for the record...we don't have a dog).

On day two or three (really, they started to blend together after a while) I fell prey as well, running a fever as we both started getting horribly congested. However, I was lucid enough to get it together to make some chicken soup, which helped see us through the next few days. We had that soup for lunch and dinner, and it was pretty much the only thing either of us really had an appetite for.

This is a standard chicken soup that is hard to mess up and only takes an afternoon of your time. So easy to prepare, you can make it while battling the ick.

Take an entire chicken and cut into parts (I went one step easier and used a pre-cut chicken...any little extras help when sick). Put in a large pot and fill until covered with water. Bring to a boil and then allow to simmer for about half an hour.


Skim any fat off the top and add the veggies. I added onions, carrots and celery.


Bring back to a simmer, cover and cook for another half an hour. Add some salt, pepper and fresh parsley and simmer for another twenty minutes. Take out the chicken, shred it, then place it back in.


I also made a few maztah balls to go in the soup...perfection!

Wednesday, March 2, 2011

Low Key

Monday night was a simple affair this week, both in terms of potluck and the food that we ate. It looked like it was going to be another missed week, with a couple families still under the weather, but fortunately, at the last minute a few families got it together and we managed to eat our shared meal.

With only a few families, the atmosphere was a bit more low key than usual and the food seemed to follow suit. However, don't let the phrase "low key" fool you - it was still absolutely delicious. There was roasted chicken, brown rice, salad, hummus & veggies and baby zucchini.

And there may have even been salted chocolate cookies for dessert.

In continuing with my theme (or mantra, really...) of "spring is almost here, spring is almost here," I whipped up some garlicky baby squash. The squash was too cut to pass up and the way I prepared them couldn't have been easier.


I started by heating up a couple of smashed cloves of garlic in a tablespoon of olive oil over medium heat.


Once the oil had hung out with the garlic, I added the baby zucchinis (which I had sliced in half, lengthwise).


A sprinkle of salt, pepper, and oregano got added to the zucchini and I let them cook in the oil for a moment, before transferring them to a 425* oven. I roasted them for less than ten minutes, checking on them occasionally to see how they were doing. Once they were lightly browned, I took them out.

I have to say that while the garlic infusion was perfect, the actual baby zucchinis lacked substantial flavor...but I guess that's what you get when you force the fruits of a season that's just not quite here yet!