Showing posts with label dessert. Show all posts

Sunday, August 21, 2011

Ice Pop Joy!


Many of my recipes come from trial and error (mostly error at this point!), favorite websites, and the occasional cookbook. The actual recipes usually come into play when I make difficult dishes where I need to follow multiple steps.

So, when I heard about Anni Daulter's book, Ice Pop Joy - a cookbook for popsicles - I was initially skeptical. My method of 1. get juice 2. pour juice in cups 3. freeze had been working so far and I couldn't imagine what I could actually gain from an actual book on making popsicles.

I was wrong.

Daulter's book is a combination of interesting information, stunning photography, and recipes that are a mix of the familiar and unique. I can safely say that I would have never come up with most of the creative popsicle recipes that Daulter shares.


Recipes range from bright and tropical fruit-infused pops to nutrient packed veggie or tofu ones. There are a bunch of chocolate based pops for those with a sweet tooth, and even herbal tea pops useful for soothing sore throats or grumbly tummies!

In addition to the recipes, Daulter includes a lot of interesting and useful information both on the ingredients used, "pop practicalities" (including info on the utensils/tools needed), and the importance of wholesome, healthy eating. There is also a section in the back for resources, in case you can't locate any of the ingredients in your area or want to splurge on some fun pop molds. 

We eagerly flipped through Ice Pop Joy, trying to figure out which recipe to try first. I had my heart set on the "Peace Pops," unable to resist the fruit/carrot combination, and my son chose the quinoa/blueberry pop, possibly drawn in by the gorgeous purple spiral of a pop in the accompanying photo.

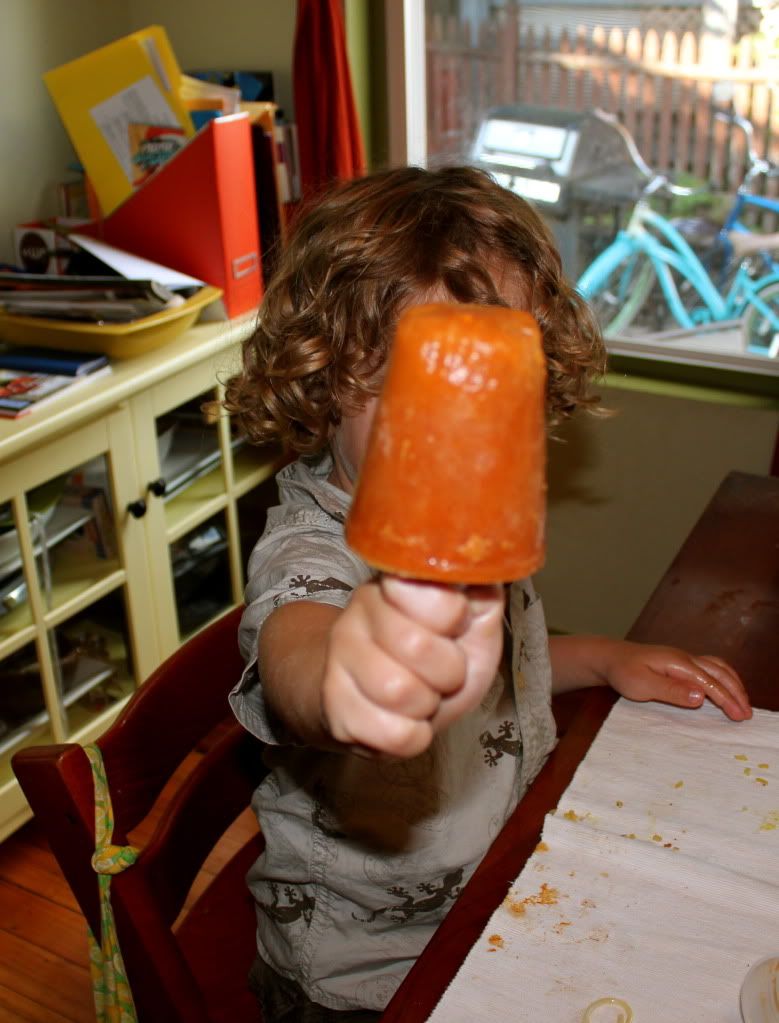
While we didn't have any of the nifty popsicle molds Daulter uses, the Dixie cups and wooden popsicle sticks we did use, worked just as well. To show you just how easy these pops really are, I took some pictures when we whipped up a batch of Peace Pops.
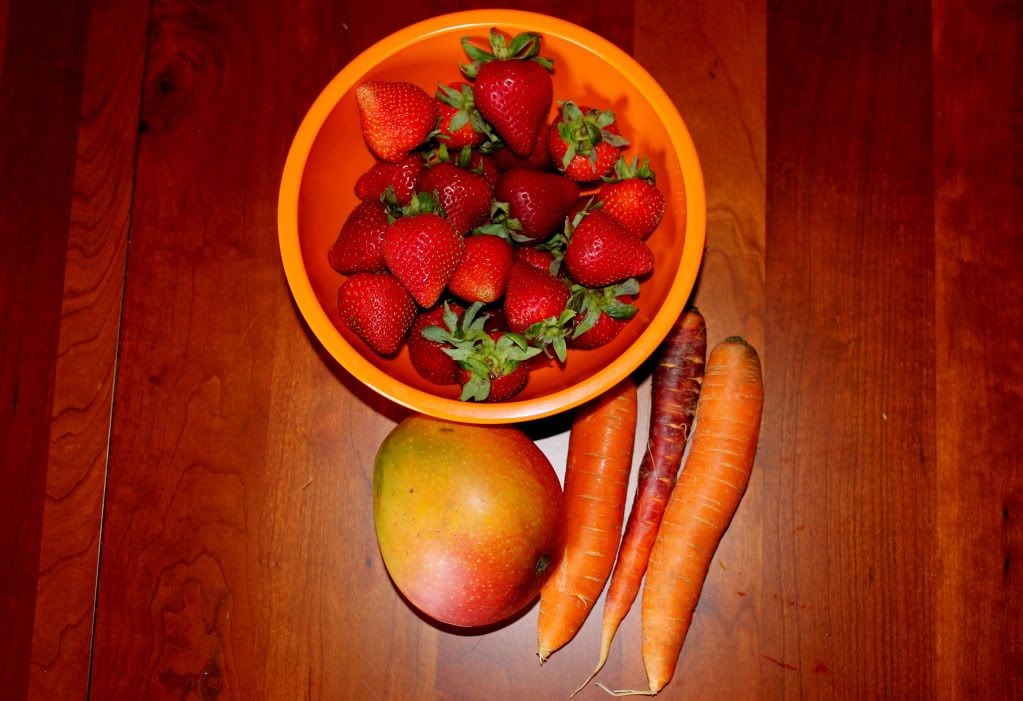
Most of our ingredients. Local carrots, yay!

Ingredients are simple: Strawberries, mango, carrots, water & coconut sugar. I was able to find all of the ingredients at our local co-op, including the coconut sugar (which I was unsure about finding).
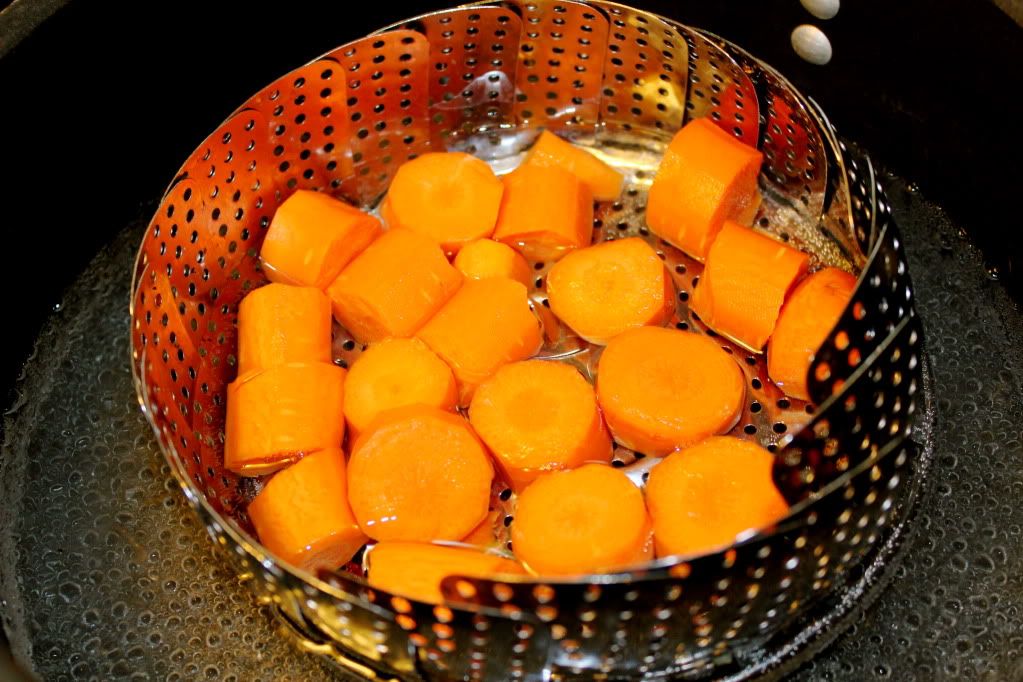

Carrots getting all steamy & soft

The recipe (like most in the book) calls for a blender, which we don't have. However, our hand blender made quick work of pureeing the fruit, steamed carrots, water & sugar all together without issue. Of course, before we tossed the mixture in cups to freeze, we had to taste it.



Delish!

In fact, the kiddo ended up drinking multiple cups of the Peace Pop mixture as well as the quinoa/blueberry one before they even made it to the freezer. He also exclaimed "I LOVE quinoa!" 

I do have to admit to being a bit wary of the quinoa pops. Never having had grains in my popsicles before, I couldn't quite fathom how it would work, but in the end the quinoa was blended in to the point where it just added a creamy texture and was mostly undetectable.

Yum!
While the pops didn't turn out as bright and colorful as in the book (possibly because I used "blonde" coconut sugar which looks like brown sugar) they were still incredibly tasty and eons better than my (not so) tried and true "freeze premade juice" method.

There are tons of recipes for all tastes, and we're already planning which ones to make next (I'm hoping for the white chocolate/peppermint "Happiness" pop while others might have their eye on the Pistachio Tofu Pop). 

Beyond my excitement for popsicles, I'm happy to share that I have a copy of Daulter's book up for grabs. If you would like to win a copy of Ice Pop Joy, please leave a comment below, telling me what *your* favorite popsicle treat is!

Tuesday, May 17, 2011

Banana Bread Bliss

It's raining.

It's supposed to rain all.week.long.

It's only Tuesday.

Sorry, just had to get that out there. While there is certainly something charming and delicious about Spring rain, when it decides to continue for a week, well...then I have some issues with it. However, since I can't change the weather, I make the best of it and...bake.

I always find that baking in inclement weather makes your treats taste extra yummy. Maybe it's because you can cozy up inside with a warmed baked good while the nasty weather takes place outside, I'm not sure. All I know is that yesterday was the perfect day for banana bread.

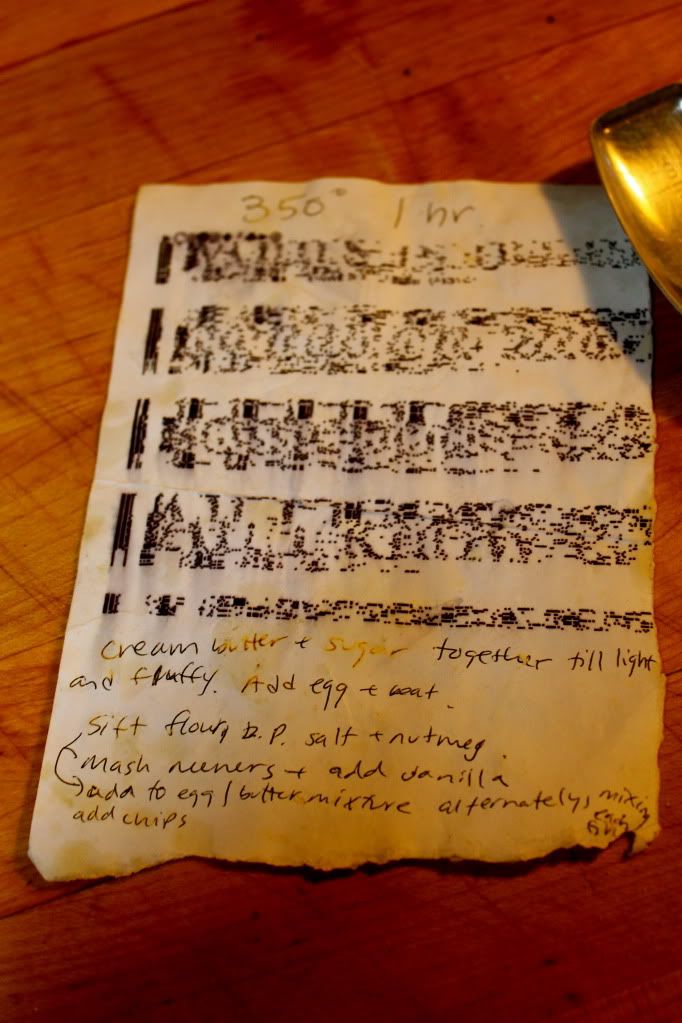
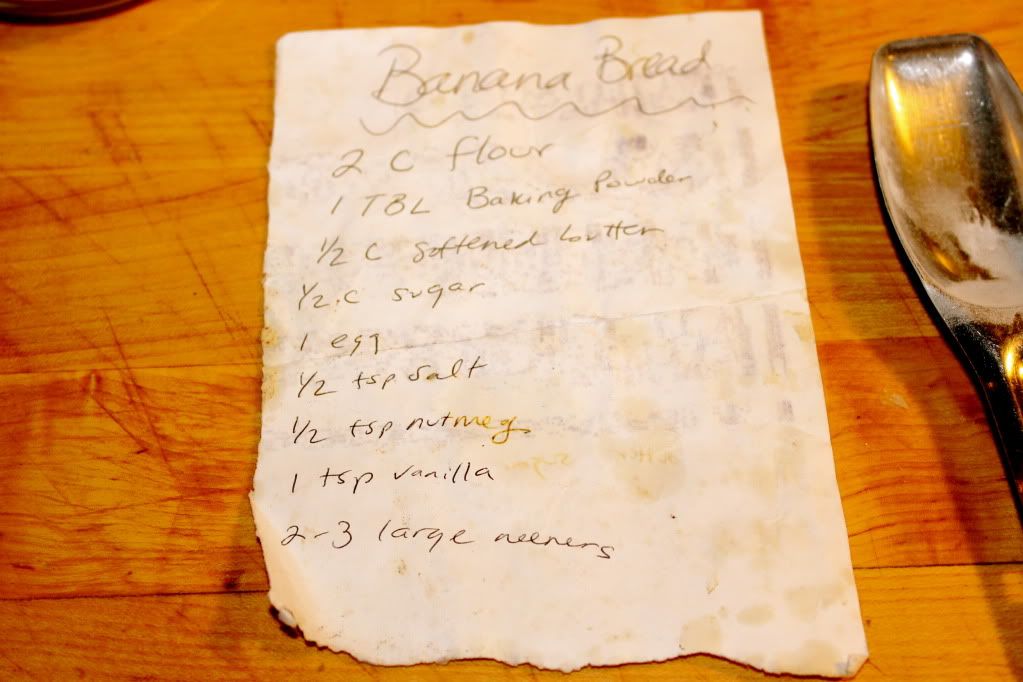
I'm not sure where I got my recipe from. It's one of those unfortunate ones that gets jotted down on a scrap of paper and stuffed in my recipe box, clearly put to good use based on the amount of smudges and stains. 

Just so you know what I'm working with:

Ingredients. And yes. That does say "neeners."

The recipe itself is really a basic banana bread recipe and quite simple even for the beginner baker.

Note the cooking time is up at the top.

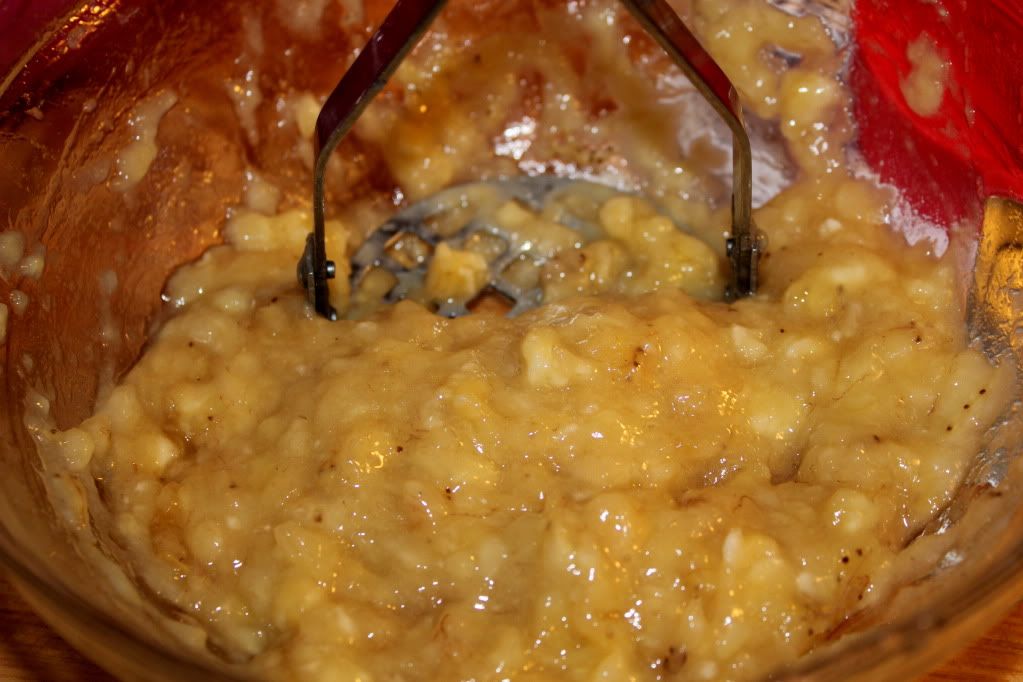
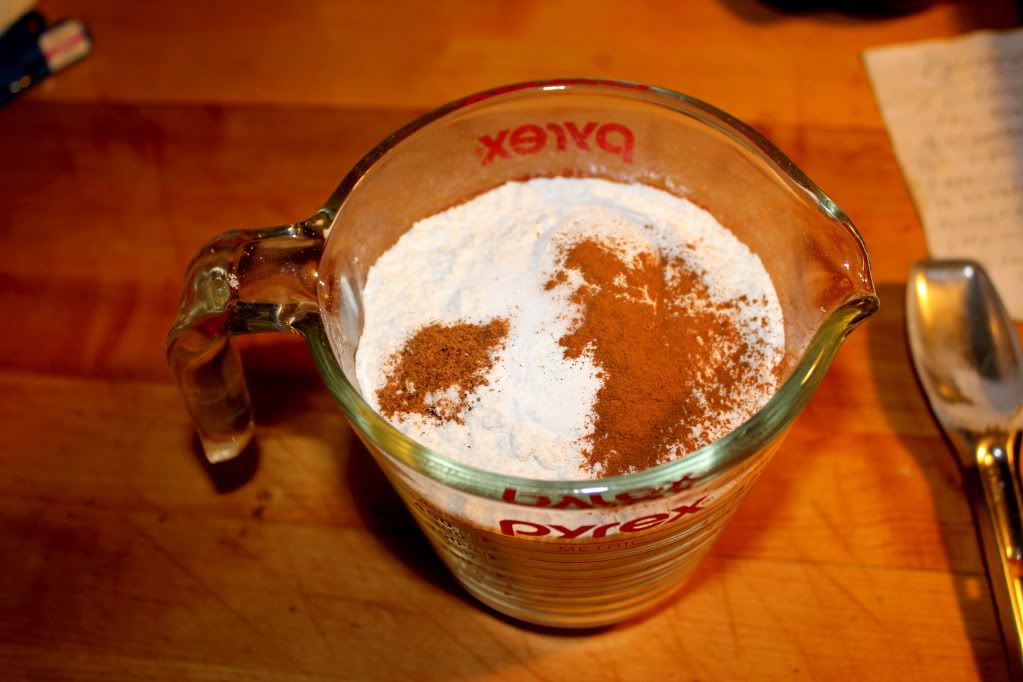
While the kiddo mashed the neeners, I got the dry ingredients together.


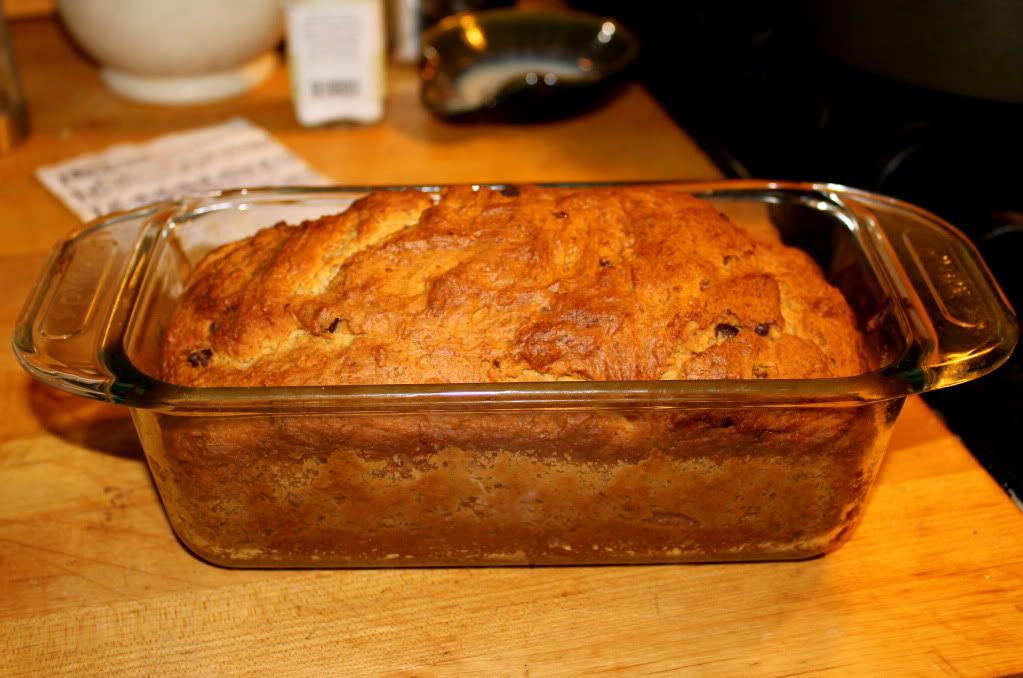
I happened to have a handful of Godiva mini chips laying around, so I tossed those in as well.


It was still warm when we dug into it at potluck later that night. The rain seemed to keep most people away, as it was an intimate potluck of two families, but just as invigorating and enjoyable.  We also dined on garlic bread, a bean dish and a rice/lentil casserole. In all, the perfect rainy day meal.

Now excuse me while I go build an ark...

Tuesday, April 5, 2011

Caketastic

While there are aspects to this Winter --> Spring season that I can do without, the fact that there are two birthdays celebrated in our household within 2 weeks of each other makes it a little easier. We celebrated Marc's birthday yesterday, and since he had gone to great lengths to make me a homemade cake, I decided to return the favor.

The only direction I got was that he wanted a chocolate cake, but I wasn't set on just any chocolate cake. Oh no. I looked everywhere until I settled on what can only be described as the most decadently amazing cake ever. It was truly caketastic.

I snagged the recipe from Smitten Kitchen, and you can get all the details there. This cake is pretty much the epitome of a grown up Hostess Cupcake. It wasn't the simplest cake I've ever made, but it was well worth the effort, for sure.


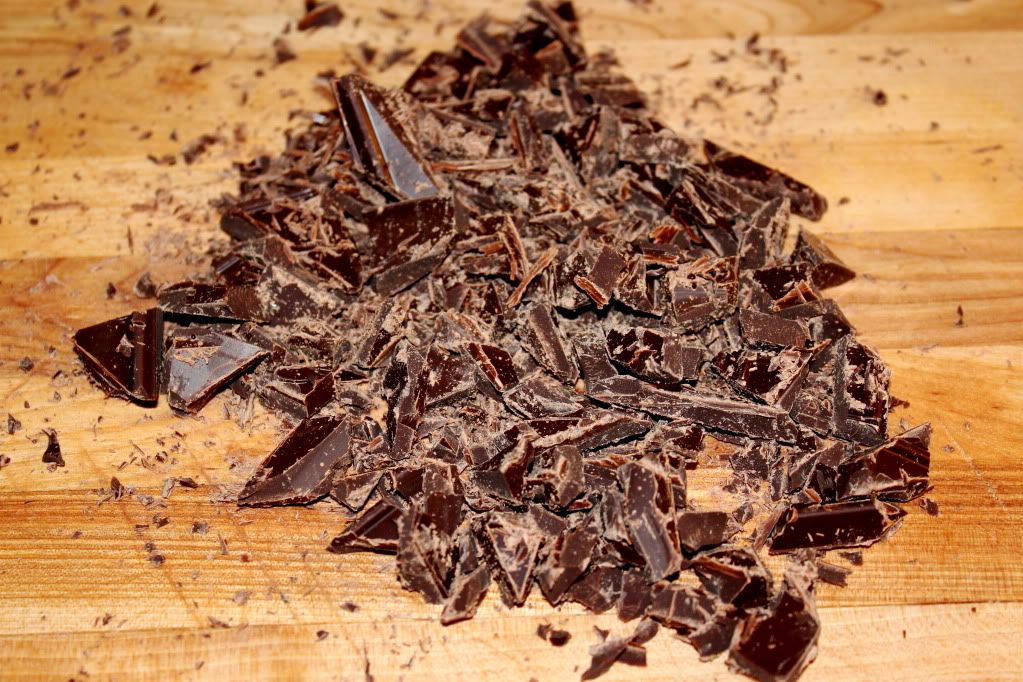
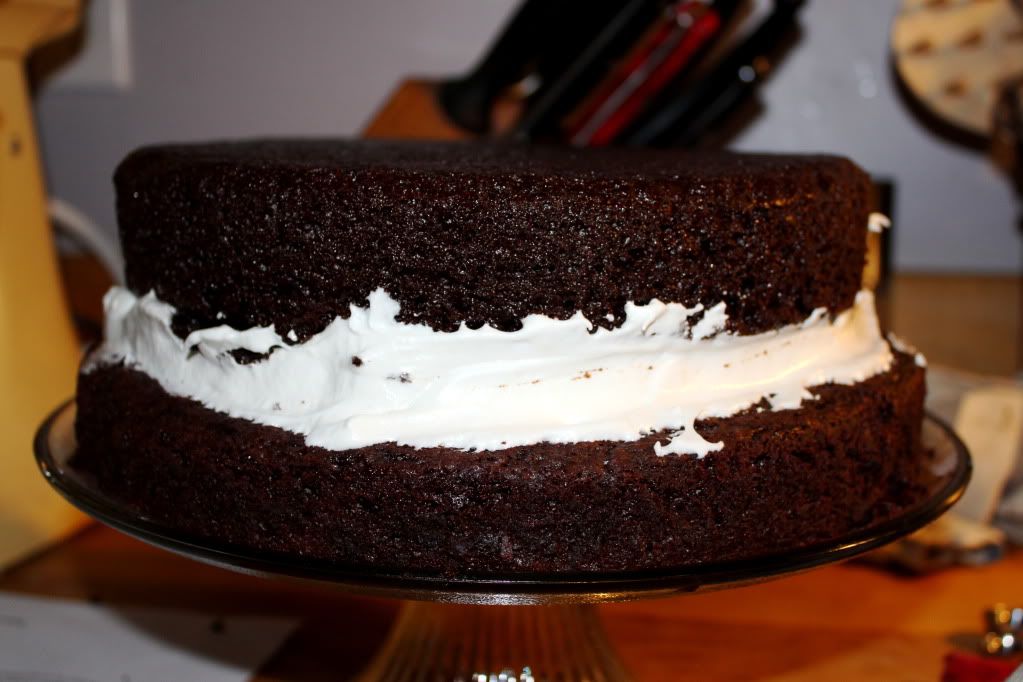
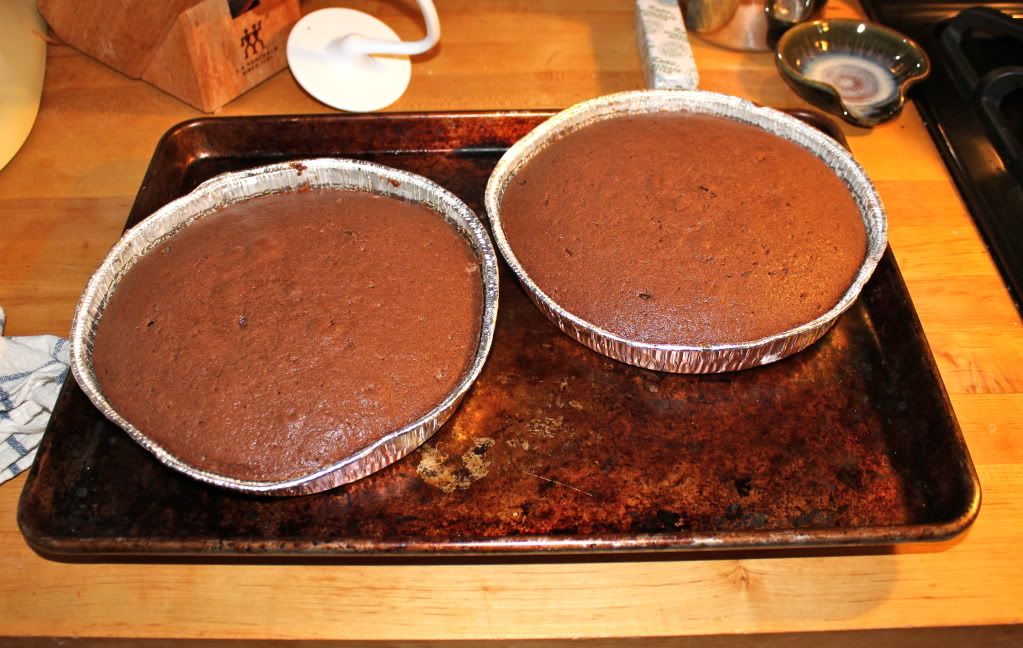
I will say...there was a lot of chocolate happening in this cake. I used Godiva for all the different parts, chopping up a bar of semi-sweet to go into the actual cake batter. I didn't follow any of the varied directions on Smitten Kitchen's post about building the cake and went with my own version. I layered both cakes (only one was cooked in a 10" pan, the other, sadly, was relegated to a 9" springform pan...but you work with what you've got).  I spread the 7-minute frosting (Yum, btw) in between the layers before adding ganache.

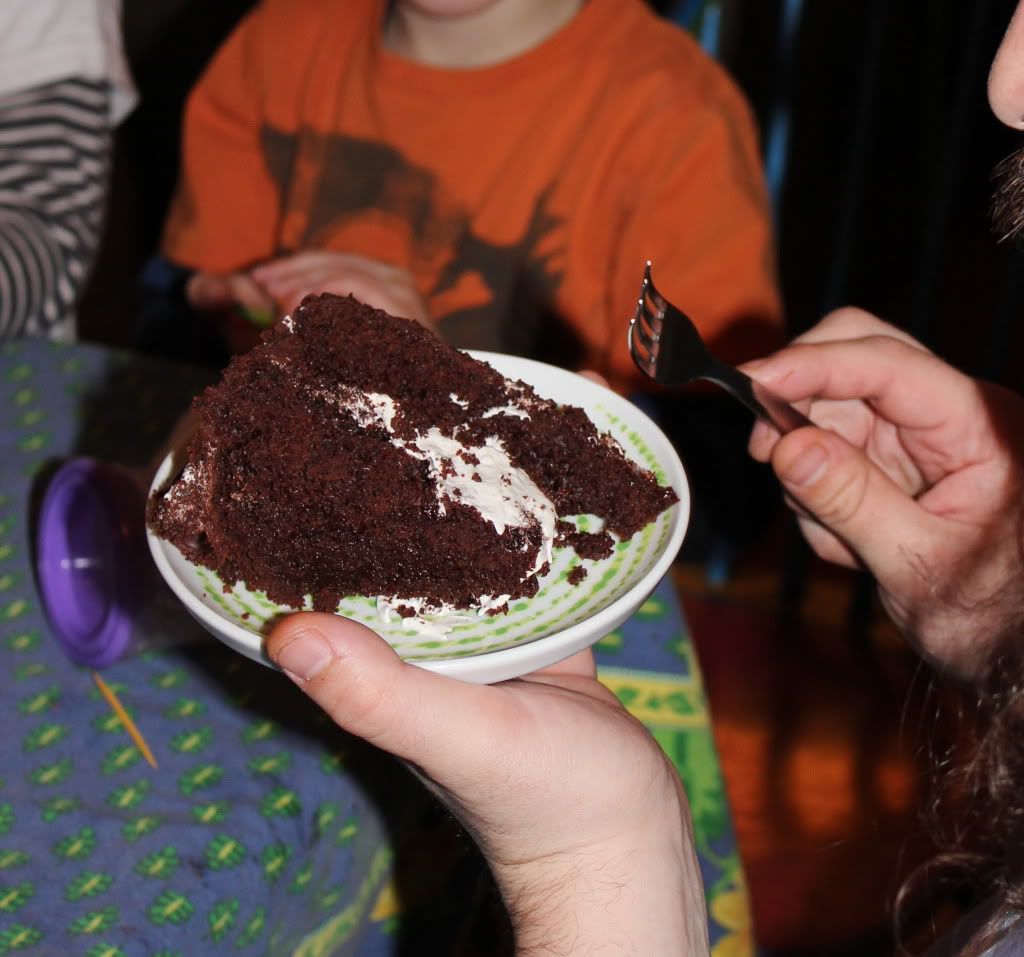
Moist cake, creamy filling...what more could you ask for?
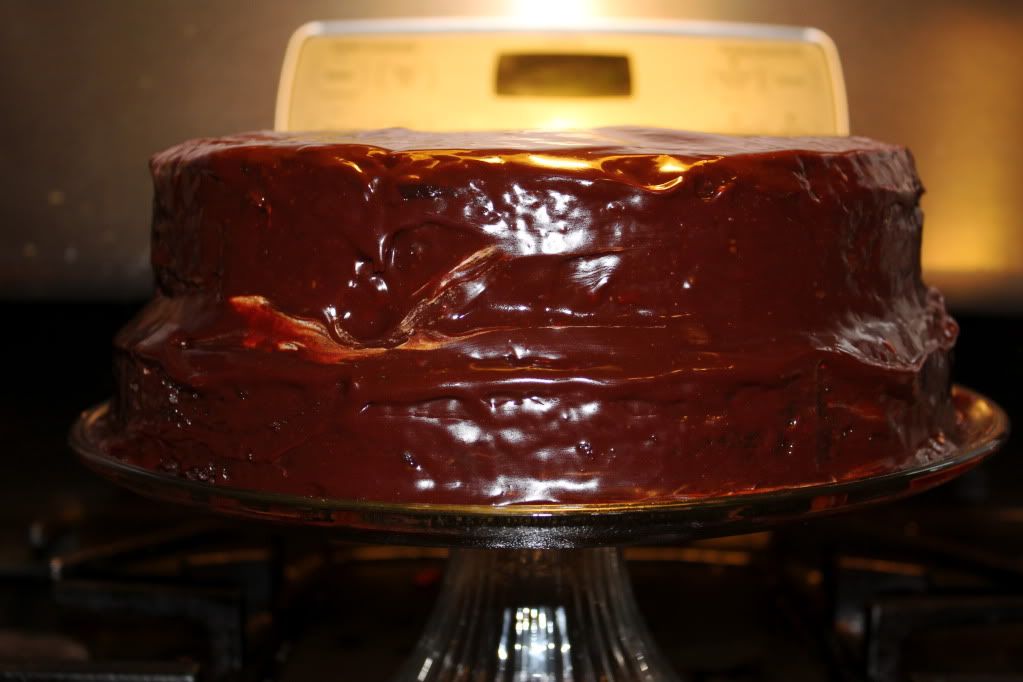
Ah, yes. Chocolate ganache coating. You could ask for that.

Suffice it to say, the cake was a hit with everyone, including the birthday boy. It was rich, decadent, and certainly fit for a celebration.

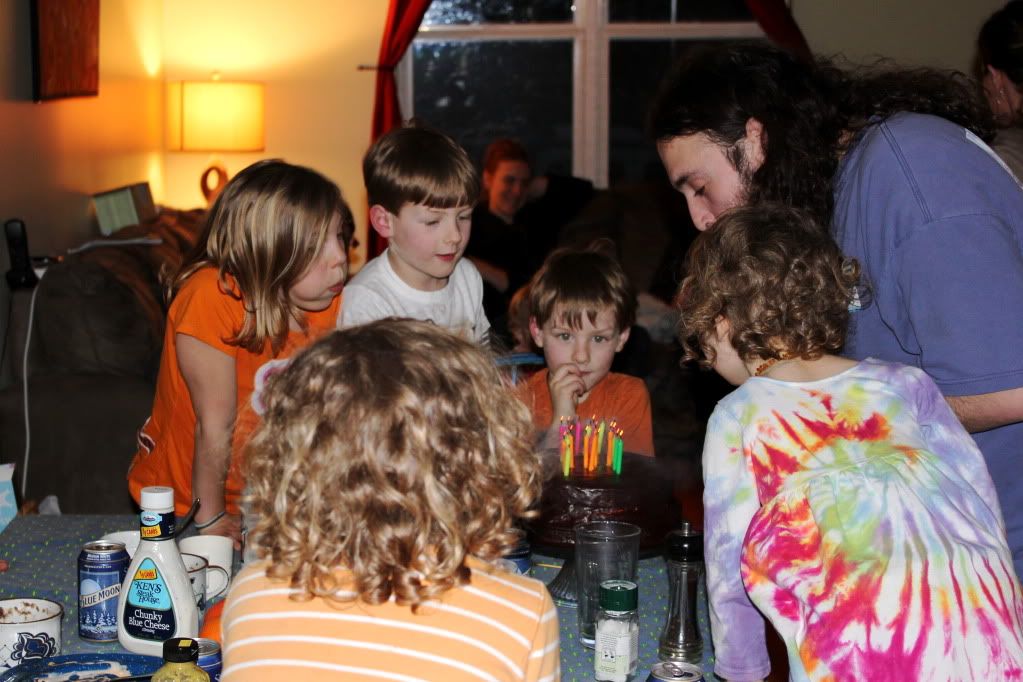
All the kids helped blow out the candles

Batches upon batches of wings preceded the cake (we made teriyaki glazed ones, and there were also hot wings and spiced chutney wings in attendance) as well as roasted potatoes, lentil soup & salad. The meal was delicious, our house (we hosted!) was full, and by the end of the night, so were our bellies.

Hmm...fingers crossed it's somebody else's birthday next week...

Friday, March 25, 2011

Fluffy Frosting Fun

(This is a guest post from my husband...not only did he bake for my birthday, but he blogged as well!)

It isn't a birthday without a cake and you shouldn't have to bake one for yourself so the boys invaded the kitchen and the computer for this birthday post.  A chocolate cake with some type of buttercream was requested.

The regular blogger has been known to sit with a bowl, a spoon, and a smile and later complain of belly aches when there has been leftover buttercream from icing previous cakes so we were looking for a special buttercream.  A co-worker had brought in red-velvet whoopie pie's with marshmallow buttercream and I was sold. While I couldn't find fancy marshmallow cream, most recipes said Fluff will suffice and it most certainly did.


As far as the cake goes my instructions are as follows:

Find your favorite search engine...google, yahoo or, if you want your favorite food personalities, go to foodtv.com and type in chocolate cake.  Pick a recipe that fits your schedule and supplies and go from there.  Lets be honest, this cake is merely a marshmallow buttercream vehicle.  I like multi layer cakes, so we baked two 8 inch rounds and sliced off the top of one to flatten it out for stacking and be able to nibble on the cake (a must when your assistant is a four-year old).


Next the icing:

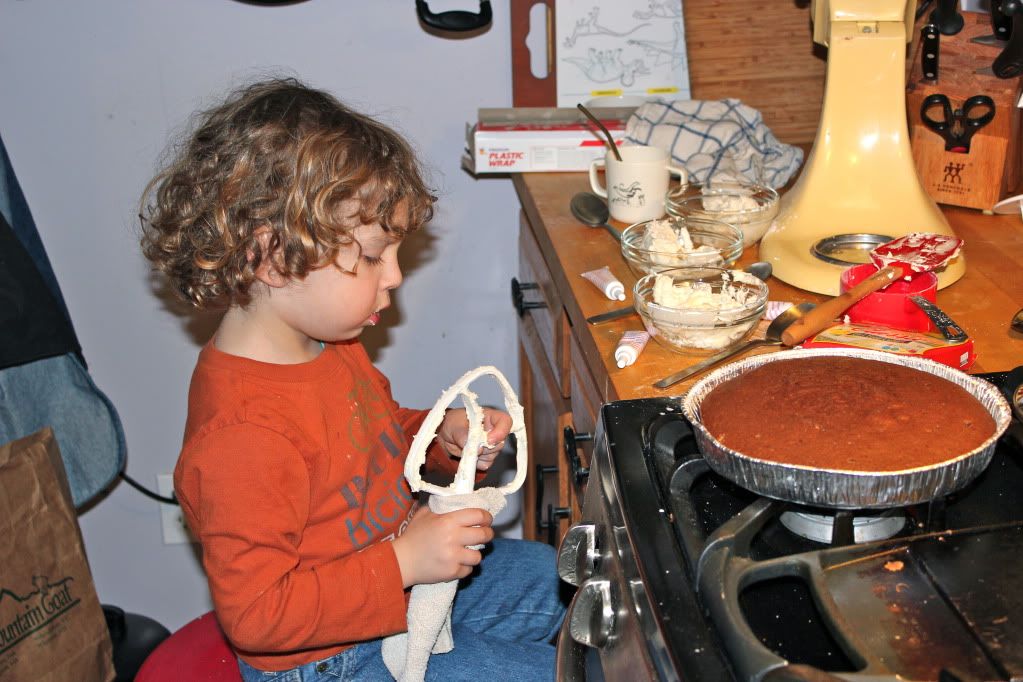
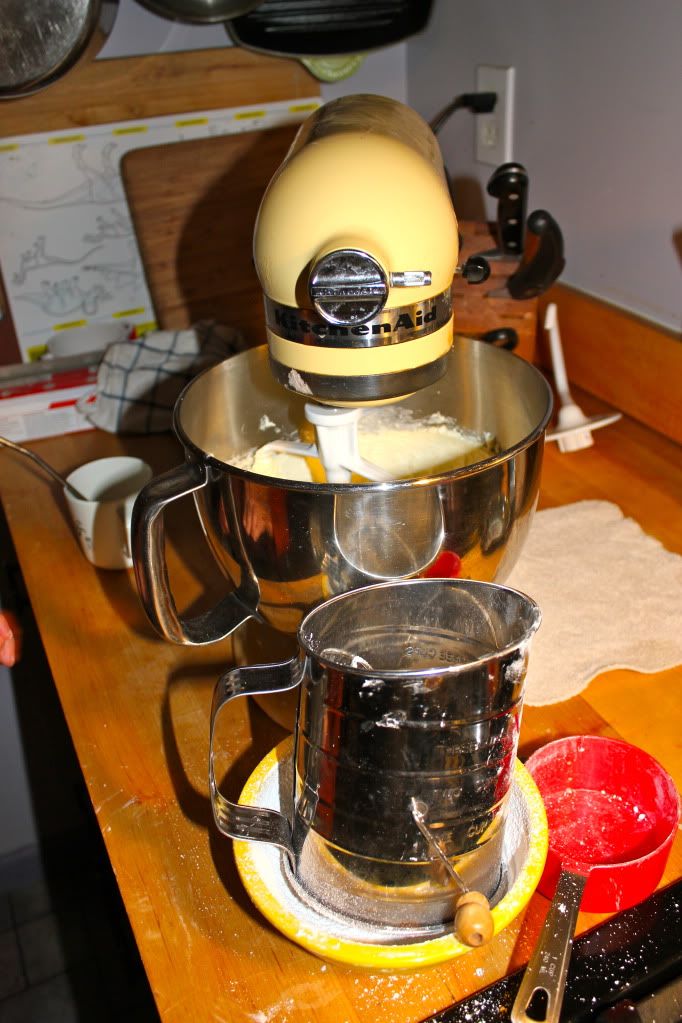
Have your assistant slice two sticks of softened, unsalted butter into little pieces and throw them into the mixer and beat on high until light and fluffy (a couple of minutes).

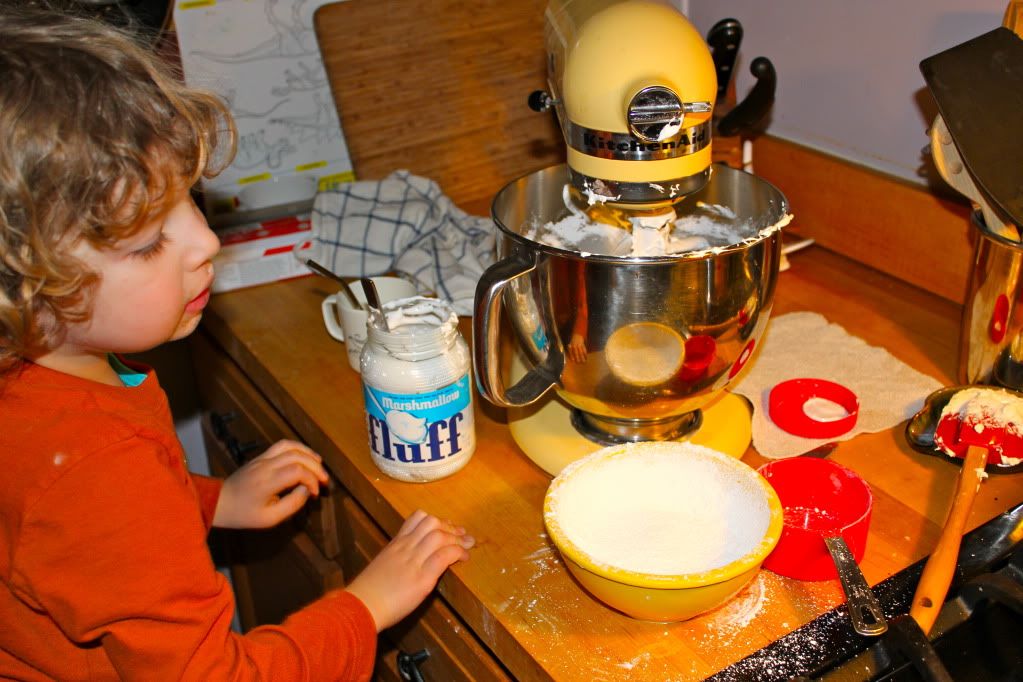
Next add 7 ounces of marshmallow fluff or 3/4 cup marshmallow creme (I looked in 3 stores and couldn't find anything fancier than fluff) again beat on high till light and fluffy.

For the write-in portion of the program, if anyone has a good way to get 7oz of fluff out of the jar and into a spinning kitchen-aid mixer without covering yourself in sweet, sticky fluffness, I would love your suggestions.


Moving on...turn the mixer to low and add a teaspoon of vanilla extract, then slowly add 1/2 to 1 cup (depending on desired sweetness) of sifted confectioners sugar until combined, then turn mixer to high until...you guessed it....light and fluffy.


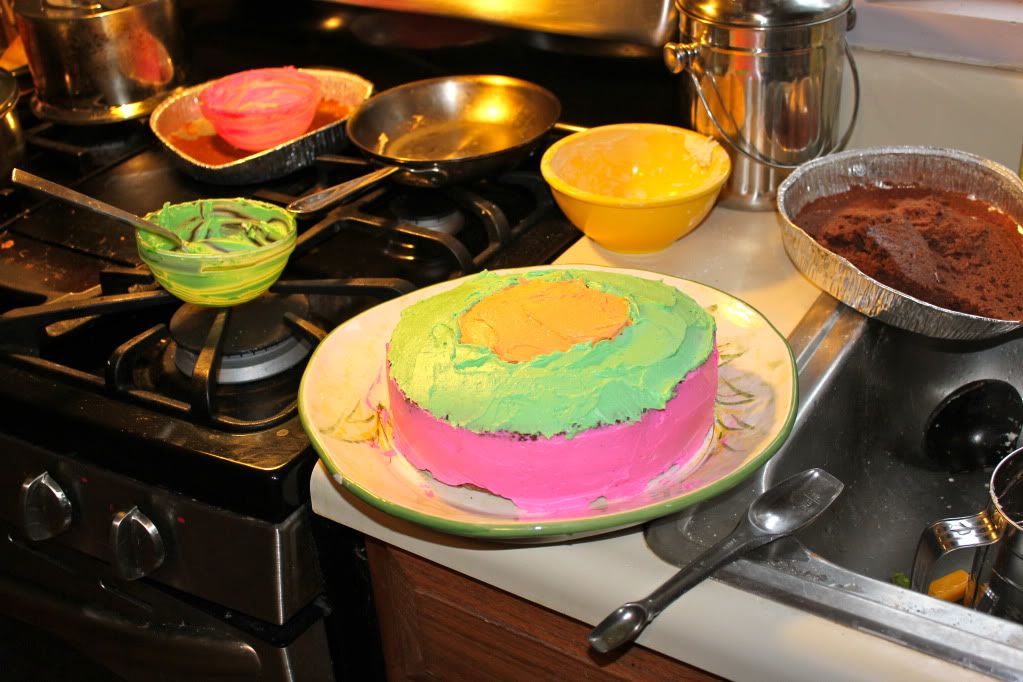
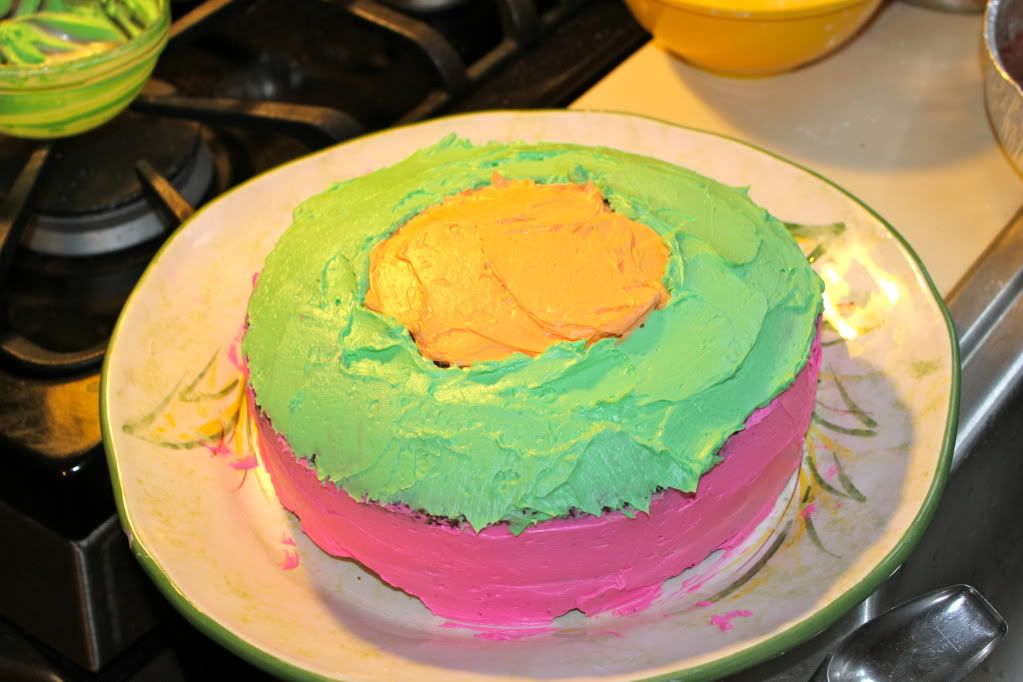
In honor of spring, birthdays, and just the fact that we have neon food coloring we decided to kick it up a  notch and make a bright three-color cake.


While Elijah wanted a rainbow on top, dad's decorating skills and flat spatula (thank you pharmacy conference) weren't up to the task so we ended up with more of a sunflower type of look and it was delicious.


- An Almost Chef's husband

Saturday, March 12, 2011

Tea Is For Cookie

Do you think the song would have caught on if Cookie Monster held his furry, blue pinky out while sipping some Earl Grey?


Hmm...probably not. But, since I'm not a coffee drinker <gasp!> I'm always on the look out for cookies that will pair nicely with a nice, hot cup of tea. I think I may have found just the one with this Spiced Almond Wafer. 

This cookie is another one from my Martha Stewart Cookie Book, and it will definitely be one that I'll be  making again. Not only were they tasty, but they were pretty easy to make. 

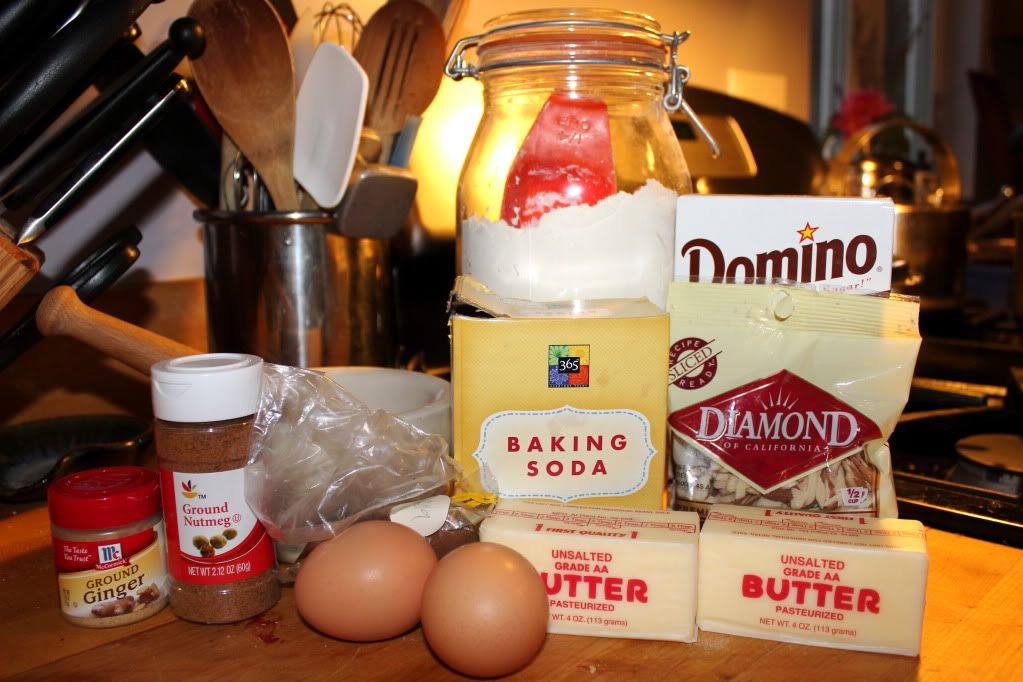
Ingredients


3 cups flour
1 teaspoon baking soda
1/4 teaspoon salt
2 sticks unsalted butter at room temp
1 1/2 cups packed dark brown sugar
2 large eggs
2 teaspoons ground cinnamon
1 1/2 teaspoons ground ginger
1/2 teaspoon ground nutmeg
1/4 teaspoon ground cloves
1/4 cup sliced, blanched almonds

Directions

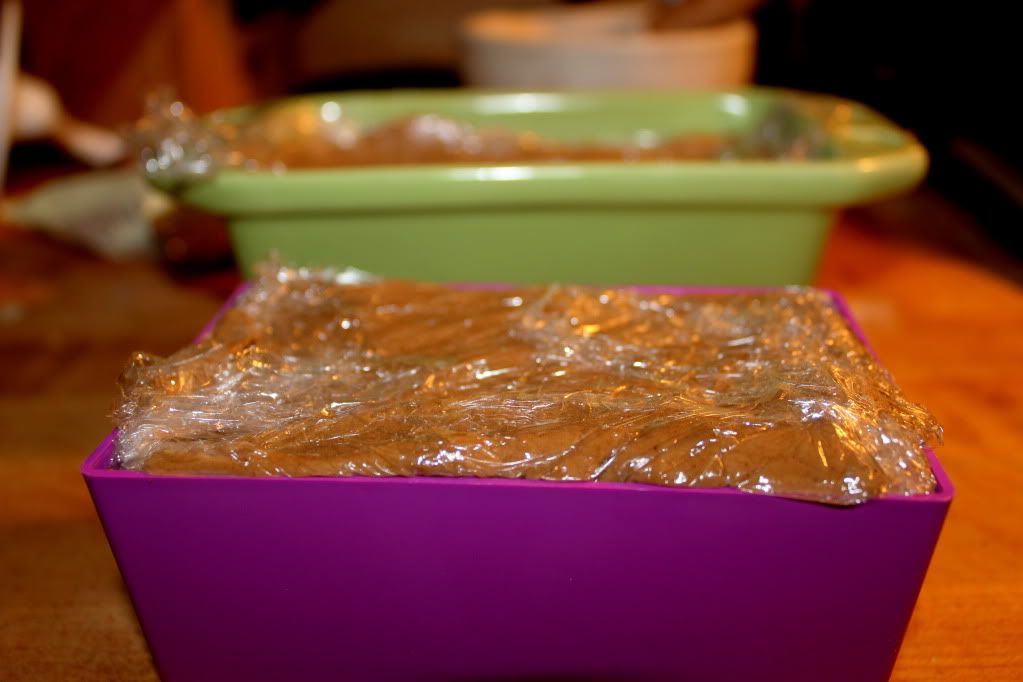
1. Line two mini loaf pans with plastic wrap. I got crafty here and used one mini loaf pan and a plastic mini box from my son's lunch box. Unlike Martha, I don't just have mini loaf pans laying around. 

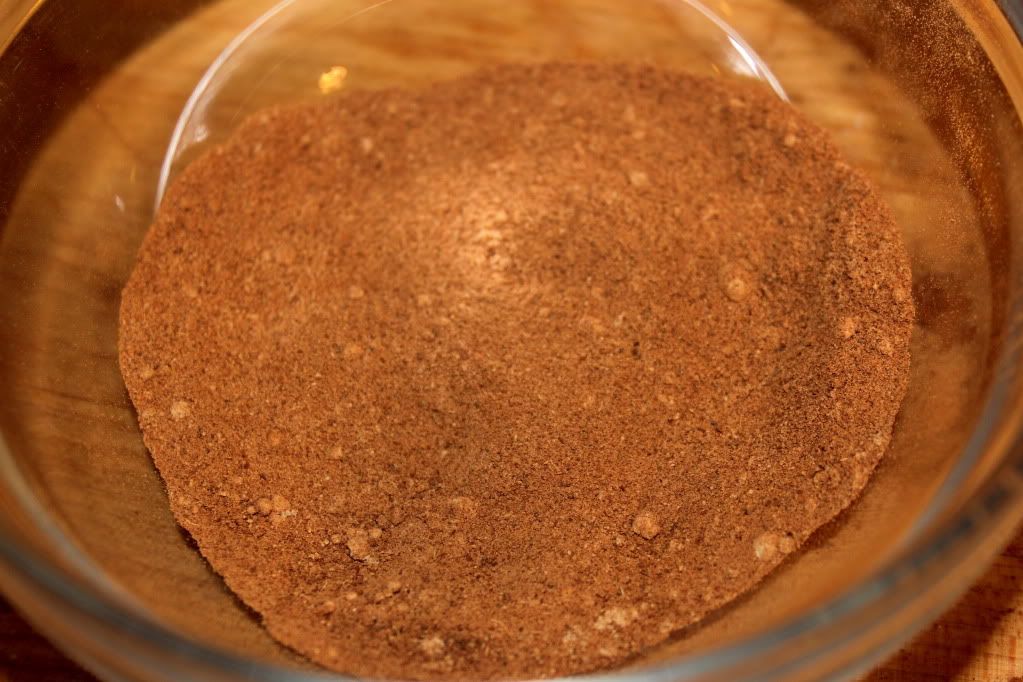
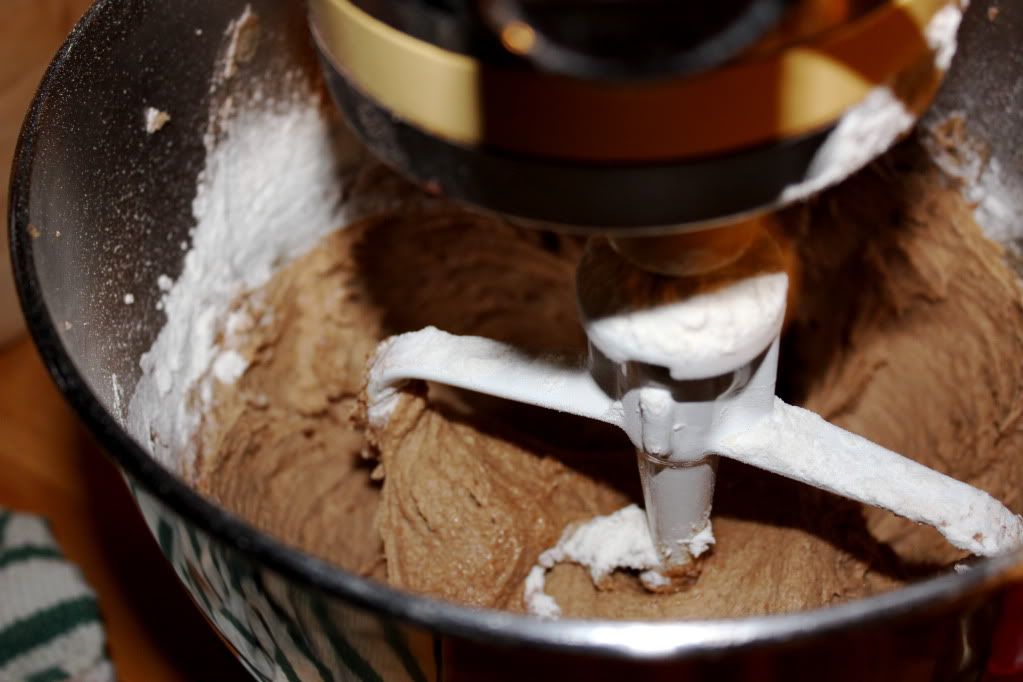
2. Whisk together flour, baking soda & salt. Beat butter and sugar with a mixer on medium speed for 4 minutes. Reduce speed to low and add in eggs and spices. 


Beat in flour mixture in 3 additions.


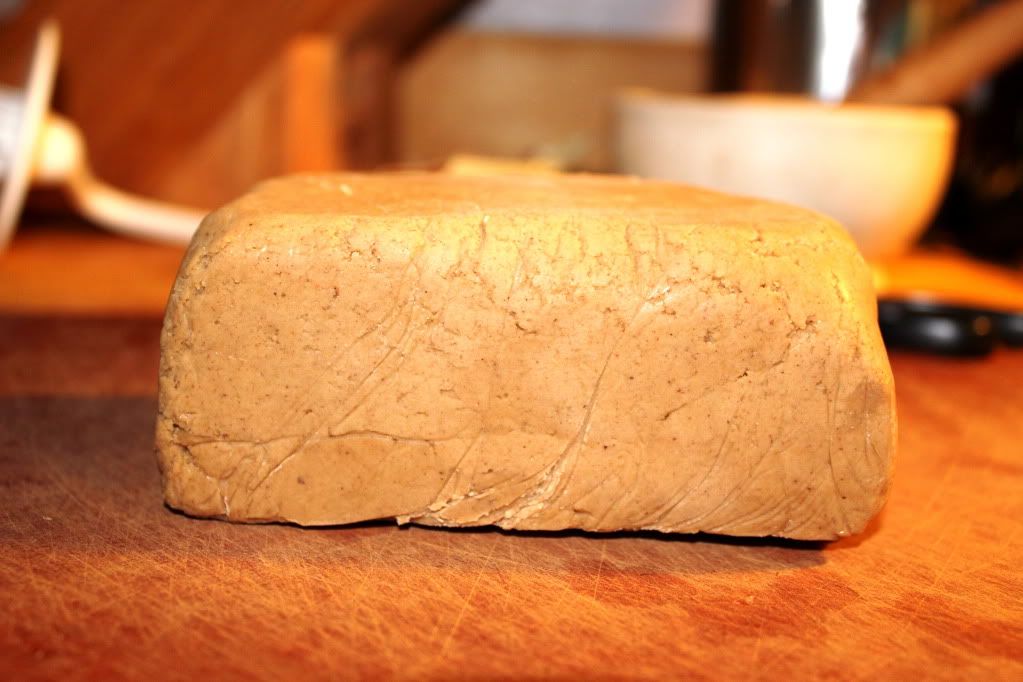
3. Press cookie dough into pans and cover tightly with plastic wrap. Freeze for 1 1/2 hours or up to one month! 
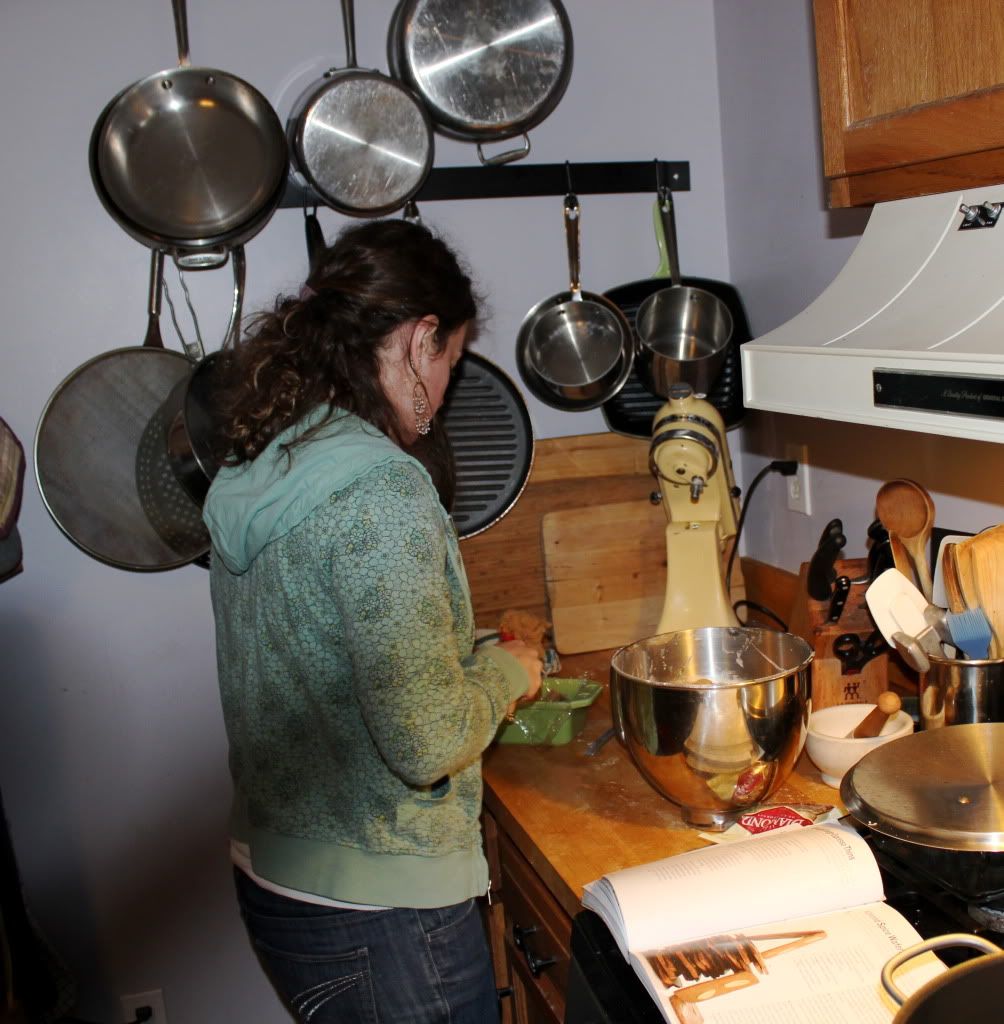
An "Almost Chef" sighting! Pressing the dough into the mini loaf pans

1 actual mini loaf pan (in back) and 1 makeshift pan - worked out perfectly

4. Preheat oven to 400 degrees. Remove dough from 1 pan. Let soften slightly. 


Cut eight 1/8-inch- thick slices with sharp knife. Unlike Martha, my knife skills aren't all that amazing, so, I have no idea the exact thickness of my slices, but I managed to get a lot. 

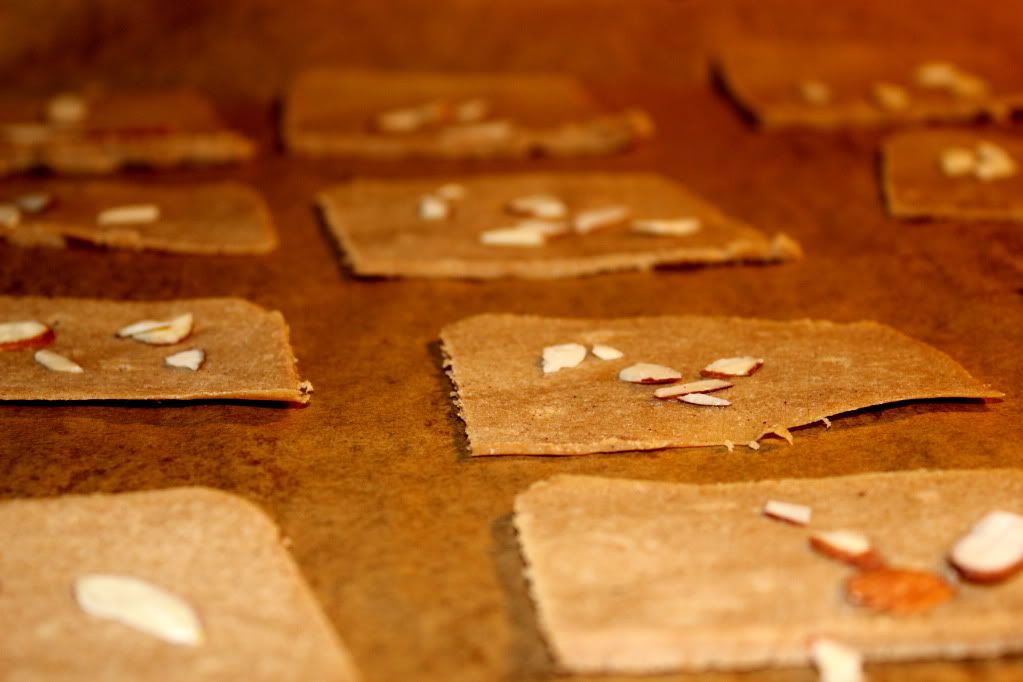
5. Cover remaining dough and freeze until ready to use. Place slices 1 1/2 inches apart on a cookie sheet lined with a nonstick baking mat. I used parchment paper, and probably didn't space them that far apart either. Look at me breaking all the rules! 

Don't forget to press a few almond slices on each cookie right before you bake them!


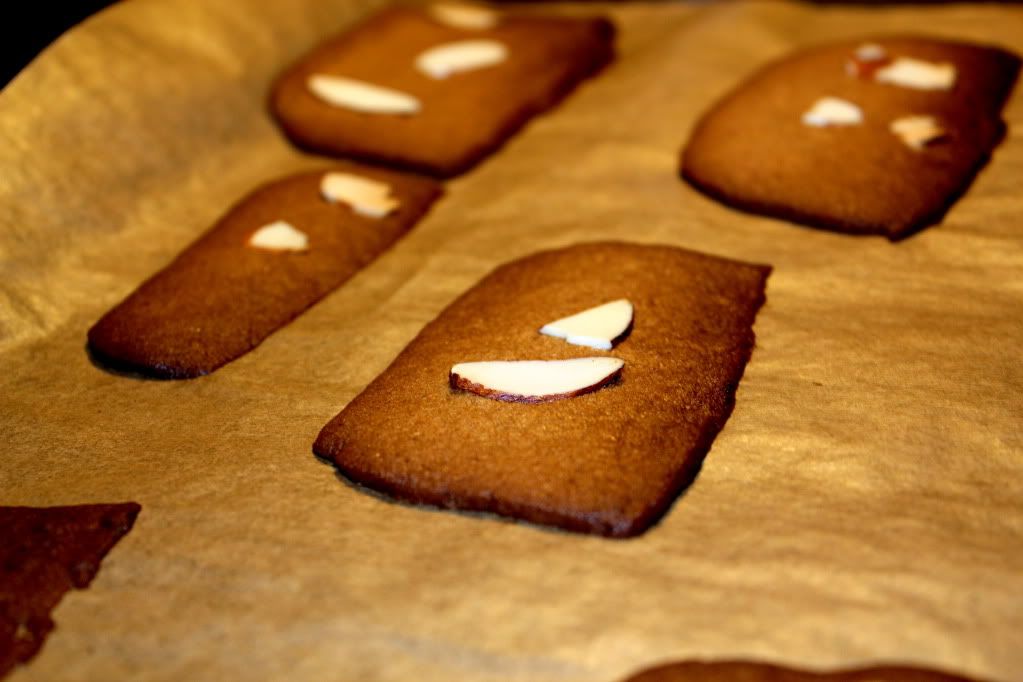
And you know what? They came out just as well...

6. Bake until dark golden brown, about 10 minutes. Let cool on sheet on a wire rack. 


Read more at Marthastewart.com: Spiced Almond Wafers - Martha Stewart Recipes 

The cookies ended up being the perfect compliment to a nice mug of tea, although my folks (who enjoyed a fresh batch themselves) suggested easing up on the ginger. The nice thing about these cookies is that you can adjust the spices to your own taste...jazz them up, tame them down...either way, the texture and sweetness is probably just enough to get Cookie monster to change his tune...

Saturday, February 19, 2011

Greens, Eggs and...Pudding

While it might not be quite as Dr. Seuss imagined...


...Last night's dinner was certainly inspired by this frequently read book. Since we don't cook/consume pork in our house, this dish was lacking the ham aspect, and the eggs themselves weren't actually green...but the spirit of green eggs and ham was there.

Somewhat.

To be honest, this meal was also based on one of my favorite dishes - heuvos green beanos - from a local restaurant. Regardless of inspiration, this meal was easy, delicious and packed full of nutritious goodness.

"Green Eggs, No Ham"

Start by steaming a bunch of kale. I just tear it up in chunks, add a bit of water to the bottom of the pan, cover, and heat on med-high for 5 minutes.

We went with curly kale

You want the kale to still have texture and color when it's done cooking and not be a soggy mess, so keep an eye on it.

Perfect.

The rest is pretty simple. Heat up some black beans, season with a bit of salt, pepper and a touch of cumin if you're feeling daring. While the beans are heating and the kale is cooking, fry up an over easy egg. This one came out a touch over done, as I usually like them mostly runny, but it was still delicious.

To assemble, layer a helping of kale at the bottom of the plate, sprinkle some shredded cheese on top (we usually go with either cheddar or monteray jack), pile some beans on top (the cheese will melt between the warm kale and beans, providing the perfect ooey gooey cheesy texture) and slide your egg over it. Serve with some tortilla chips, salsa, sour cream, guacamole or any other condiments/sides you like.

Yum!

The best part of this "recipe" is that you can change the flavors up to suit your mood. Sometimes I put a little Asian spin on it, adding soy sauce and a little sesame oil to my kale. Other times I'll heat up my beans directly with the kale, fusing those flavors. Definitely play around with it and make it your own.

Our (somewhat but not really version) of Green Eggs Sans Ham is perfect for breakfast, lunch or dinner and has my 4 year old exclaiming, "I LOVE KALE!"

***

As for dessert, we wanted to do something a little special that deviated from the usual Friday night cake or cookies, and opted for chocolate pudding! This recipe was surprisingly easy and was adapted from Mark Bittman's How To Cook Everything.

Ingredients

Start by whisking together 3 eggs with 2.5 cups of half and half. I actually substituted a little milk for a portion of the half and half and the result was still a super creamy pudding.

It helps if you have a little sous chef in the kitchen to crack your eggs while you're busy getting dinner ready.


Meanwhile, melt 2 ounces of chocolate in a pan on low heat. Next time we'll probably use 4 ounces, as the pudding could have used a stronger chocolatey kick.

mmm...

In a pan, mix 1/2 cup of sugar and 3 tablespoons of cornstarch together. Add the egg/dairy mixture to this, and heat over medium heat, whisking the entire time.


The whisking is important. I stirred for a long time, wondering when it would thicken, and all of a sudden, at around 7 minutes in...BAM! And then I had to constantly whisk for fear of dreaded lumps.

After about 10 minutes of mixing, the pudding had finally formed, so I poured a teaspoon of vanilla and the melted chocolate in, stirring to combine.


Once thoroughly mixed, pour into little dishes and chill.


My son preferred to eat this still a touch warm (aka right away after dinner) while the rest of us enjoyed the pudding a couple of hours later, perfectly chilled.

Tuesday, February 15, 2011

Valentine's Day Shortbreads

Once upon a time I had a culinary dream: To make every single one of the cookies featured in Martha Stewart's Cookies. 


Granted, as far as culinary dreams go, this one isn't as lofty as say, the Julie/Julia Project or Cooking With My Kid, but as somebody who really likes cookies, I thought it had some merit. 

However, my dream was quickly dashed after attempting a handful of various cookie recipes all in the same weekend. The amount of sugar and butter that I used absolutely was a little ridiculous, and I just couldn't see myself being that indulgent so frequently. 

That doesn't mean that I gave up on my dream entirely. Oh, no. In fact, we frequently make many of the cookies from this cookbook. I just don't make a different cookie every single day. 

Special occasions, however, definitely call for cookies and Valentine's Day is no exception. I flipped through the book, trying to decide just which cookie got to be our special Valentine cookie. I went past some of my favorites (Grammy's Chocolate Cookie, PB&J Bars, Homemade Thin Mints) until finally settling on the Cranberry Shortbread Hearts. Martha must have had Valentine's Day in mind when she created these. The red flecks of dried cranberries and the heart shaped cookies definitely help you feel the love. 

I followed the recipe almost exactly, with one small exception (which I'll note in red). 

INGREDIENTS
- 1 cup (2 sticks) unsalted butter, room temperature
- 3/4 cup sifted confectioners' sugar
- 1 tsp vanilla
- 2 cups sifted all-purpose flour
- 1/2 tsp salt
- 1/2 cup finely chopped dried cranberries or cherries

Directions:
Heat oven to 325 degrees with a rack in the center. Combine butter, confectioners' sugar, vanilla, flour & salt in a large mixing bowl. Beat with a wooden spoon until combined but not too creamy. Stir in dried cranberries
(Here is where I went off script. I decided to use my trusty Kitchen Aid to mix all these ingredients in lieu of a wooden spoon. Martha would be shocked, but I was pleased...it was super easy, came out like it's described in the cookbook and I didn't even break a sweat!)


Pat dough evenly into an 8 or 9 inch square baking pan.


Bake until just  beginning to turn golden, about 20 minutes (the time in my cookbook says 30, the time on her website says 20. I baked 33 minutes!).


Place pan on cooling rack until cool enough to touch, about 20 minutes. Run knife around edges, remove shortbread and transfer, right side up to work surface. Use 1 1/2 to 2-inch heart cookie cutter to cut out cookies.


Use a paring knife to trim stray bits of cranberry from edges. Cookies will keep for 5 days at room temperature in an airtight container.


(Read more at Marthastewart.com: Dried Cranberry Shortbread Hearts - Martha Stewart Recipes) 


Love.

Sunday, February 13, 2011

Carrot Cupcakes


I've been a bit blogger fail this past week. I made challah with my son Friday and fully intended to share the experience on the blog, only to have completely spaced when it came to that all important part of taking pictures. 

I'm hoping that Friday challah baking becomes a weekly habit, so hopefully there will be multiple opportunities to make up for this past week's oversight. In the meantime, I made certain to overcompensate with lots of photos of this morning's adventures in carrot cupcakes. I took a well loved carrot cake recipe and did a little of this...and a little of that...and voila: deliciously moist carrot cupcakes.

Carrot cupcakes in a bag: We were visiting my folks, so I brought all the ingredients I needed with me!

 The recipe itself is pretty simple and straightforward. It came from a friend of my mother's and it's my go to carrot cake recipe.

Ingredients
2.5 cups flour
2 tsp baking powder
1.5 tsp baking soda
3 tsp cinnamon
1 tsp salt
1 3/4 cup sugar (the original recipe calls for 2 cups, but I never use that much)
1.5 cups vegetable oil
1/2 cup apple sauce
4 eggs
2 cups grated carrots (I only used that 1 large carrot and it yielded just over two cups! yay for local veg!)
8.5 oz can crushed pineapple, drained
1/2 cup raisins (I used more like 1 full cup)
1/2 cup chopped crystallized ginger
(You can also add in chopped nuts, cranberries, figs, etc...this recipe is very change-it-up friendly like that!)

I mixed all the dry ingredients ahead of time at my house - easy peasy!

Preheat oven to 350. Butter and flour 2 trays of cupcake tins (this recipe yields 24 cupcakes) or line them with paper cups. 

Sift flour, baking powder, baking soda, cinnamon and salt together and set aside.

In a separate mixing bowl, beat together sugar, eggs, oil and applesauce until well blended. 


Add carrots, pineapple, raisins, ginger (and whatever other "add ins" you're using). 

All from one large carrot! 

Spicy-sweet goodness. 

I didn't have crushed pineapple, so I just chopped up a can of pineapple rings. 


 Gradually add flour mixture, stirring until *just* combined. Then pour into prepared cupcake tins.


Bake for 25 minutes or until a toothpick comes out from the center clean.


 Now...you can totally eat these as is. They really are quite delicious plain, without any added frosting, but then - where's the fun in that? I decided to whip up a special maple cream cheese frosting for these.

I love that my parents still put their syrup in an old honey bear.

I went with my usual cream cheese frosting mixture of one stick softened butter mixed with one package of softened cream cheese. I add a couple of tablespoons of milk and 1 lb of powdered sugar. Instead of vanilla, however, this time I added a couple tablespoons of grade A maple syrup. The flavor complimented the carrot cupcakes perfectly.

Yum.