Showing posts with label recipe. Show all posts

Monday, May 23, 2011

Chana Masala

And here we are...yet another gray, rainy Monday. And I'm in need of flavor - something that packs a punch. My son was clamoring for chickpeas (he is obsessed with him, thanks to a certain televised lemur who occasionally has a hankering for them), so I figured, why not make the best of both worlds.

Enter: Chana Masala.

Usually I'm pretty hesitant when it comes to cooking Indian food because the flavors are so bold that I worry it will be completely obvious if I've messed it up. Yet this dish is easy to prepare, easy to temper to your own tastes and is a definite crowd pleaser.

Start by sauteing one diced medium onion in vegetable oil.
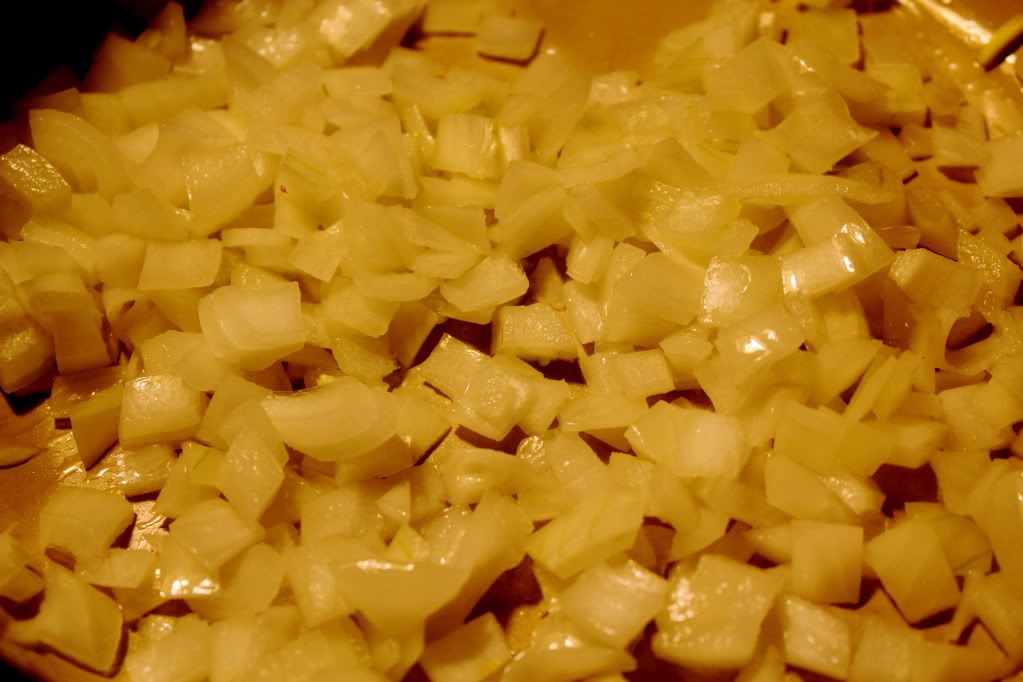

While the onions are cooking, organize and prep the rest of your ingredients.
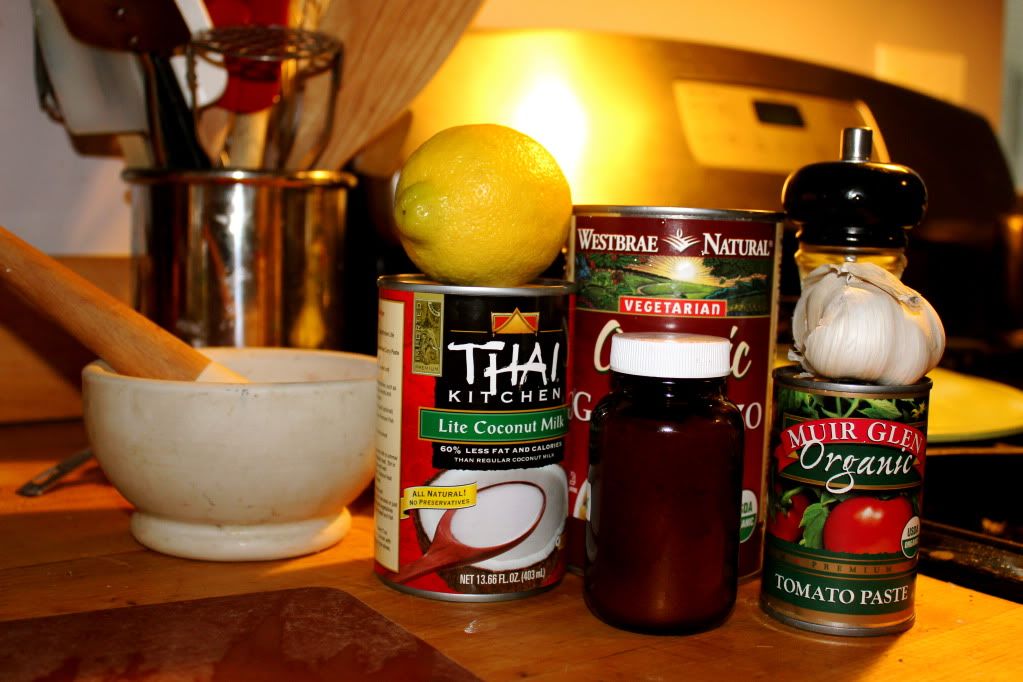
Salt, coconut milk, lemon, chickpeas, curry powder, tomato paste, garlic & pepper

Once the onions have softened and slightly browned, add 1 clove minced garlic, 1 tablespoon of tomato paste, and 1-2 tablespoons of curry (play with this to suit your tastes. I go with 1.5 tablespoons and it gives a nice kick without being overpowering). Stir it all up and add a couple tablespoons of some reserved chickpea liquid until a sauce begins to form.

Add the juice of a 1/2 lemon, pinch of salt, and a 1/4 cup of coconut milk (to start). Here's where I played around with it a bit. I would stir and taste and add more (tomato paste, coconut milk, salt) flavor as needed. I finally got it to where it wasn't too sweet, sour or spicy, and of course, had no idea what the exact measurements were of anything I used.
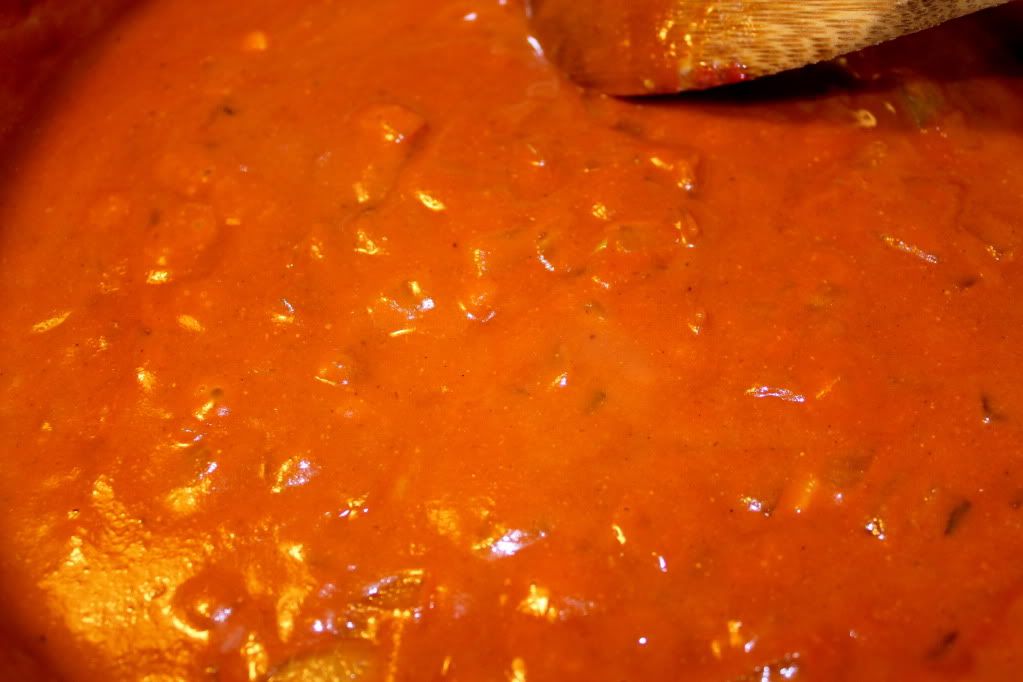

Then, add the chickpeas and allow the dish to simmer for 1/2 hour or so. (You can type up our blog post and revel in the amazing smell that's coming out of your kitchen while you do so).
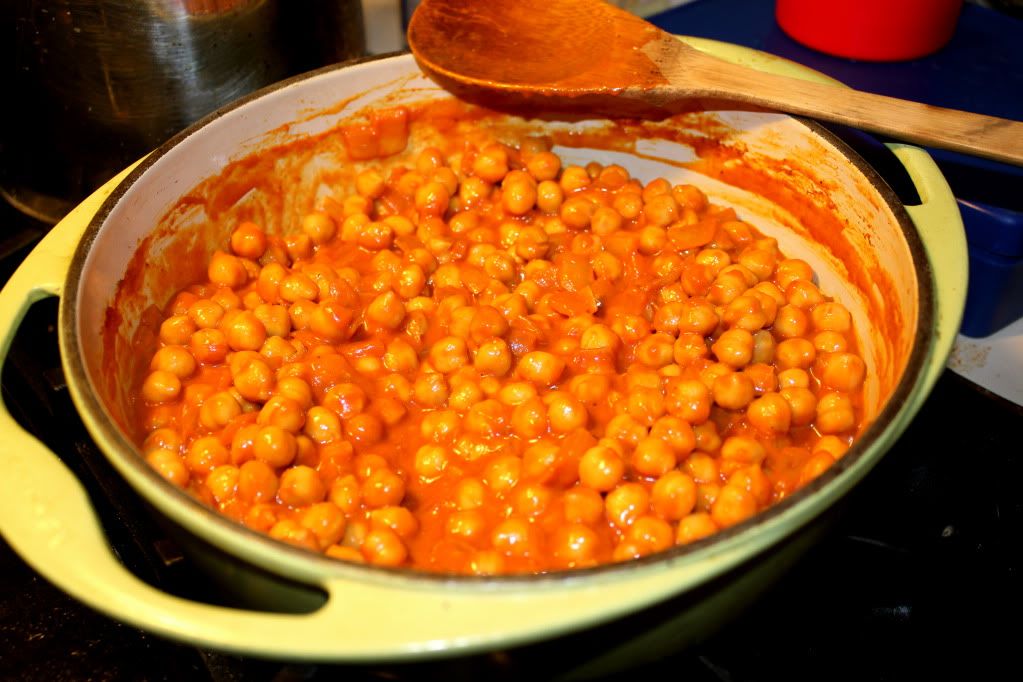

I have it on good authority that this will only be the tip of the delicious iceberg for tonight's potluck. It certainly makes braving the drab, drizzly roads that much easier!

Thursday, March 17, 2011

Nomentashen

It's hard to pinpoint my absolute favorite food that goes along with Jewish holidays. I could try, I'm sure...but once I start to think about brisket and matzah ball soup and stuffed cabbage and honey cake, it all gets a little bit hazy, and I get a lot hungry.

Purim is no exception.

The holiday as a whole might be up there as one of my favorites. What's there not to like? Dressing up in costume, eating delicious treats, drinking wine, shouting and making loud noise, listening to an interesting story...it's all pretty special.

And so, in an attempt to harness some of the awesomeness that is Purim, the kiddo and I decided to make some Hamentashen yesterday. Hamentashen are cookies formed into triangles and are made to remember the villain of the Purim story, Hamen. There are a variety of recipes, but it's basically a cookie dough filled with deliciousness. This is our version.

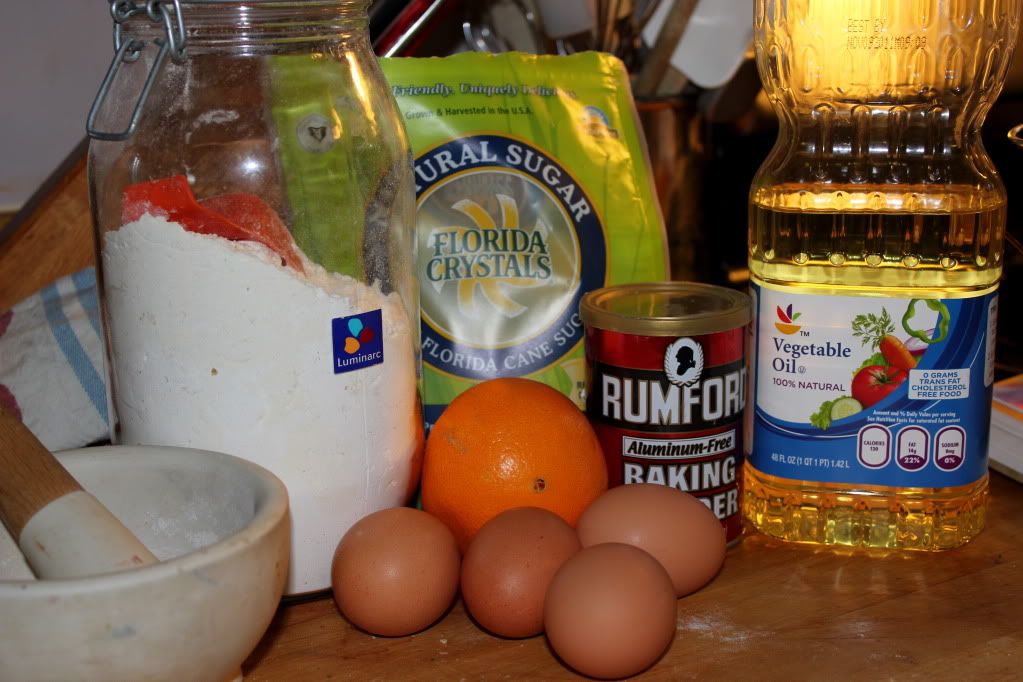
Ingredients

The recipe only calls for 2 eggs...don't mind those other two stragglers - they became breakfast!

2 cups of all purpose flour
1 tsp baking powder
1/4 tsp salt
1/4 cup sugar
1 tsp orange zest
2 eggs
1/4 cup oil
1/8 cup orange juice
Filling of your choice (this can be anything you like. Traditional filling is prune, poppyseed or fruit jam.)

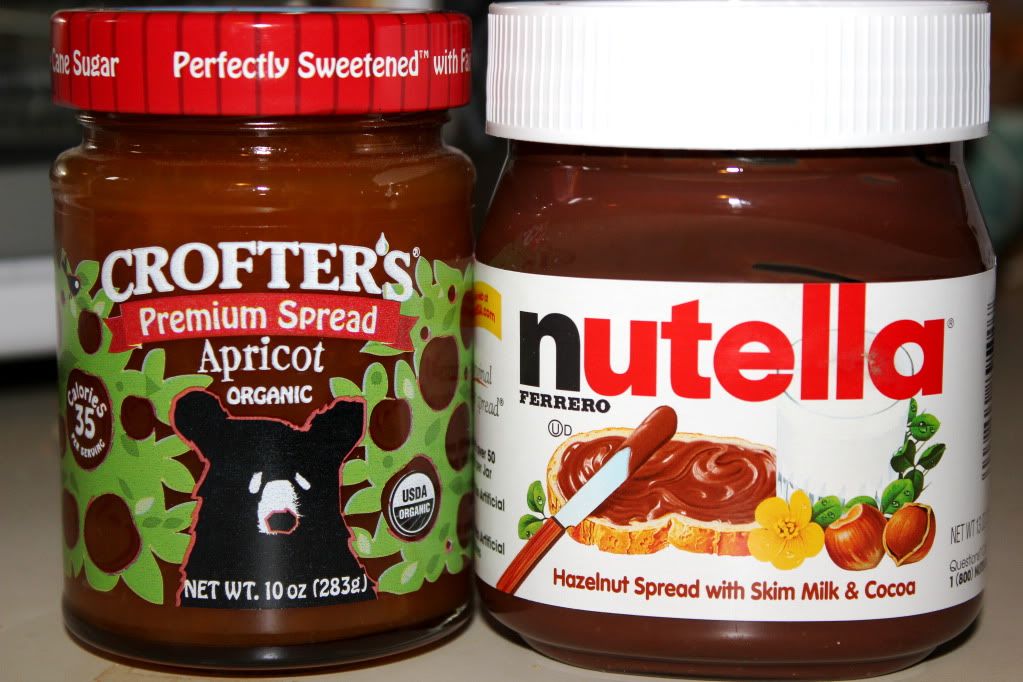
Our filling

Directions

1. Sift all dry ingredients together and mix with orange zest.

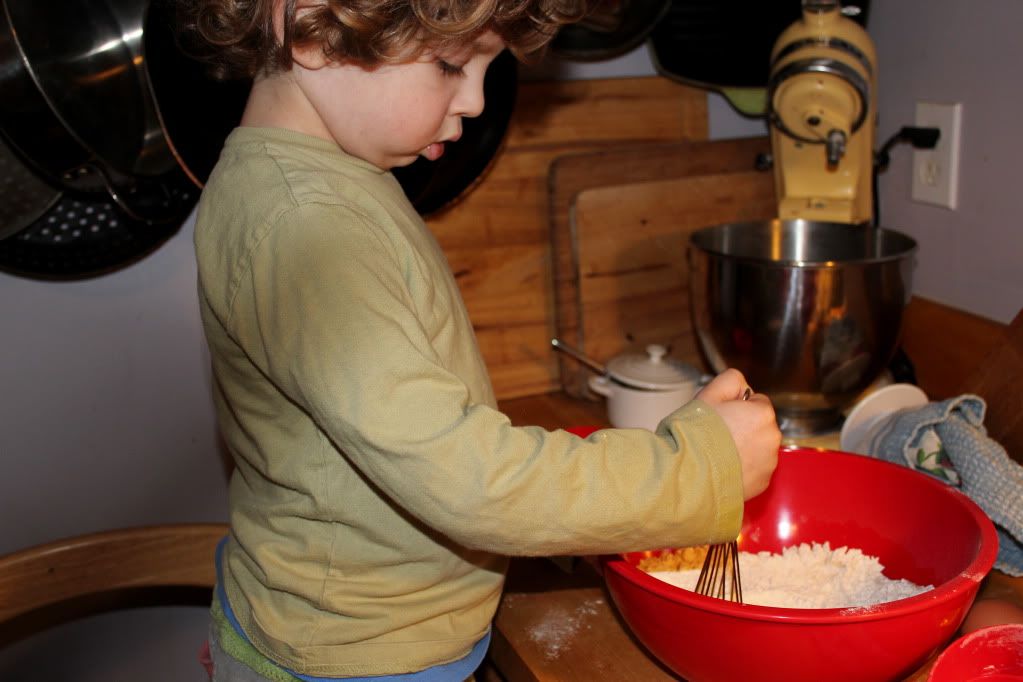
This recipe is super kid friendly, so don't be shy about getting them into the mix


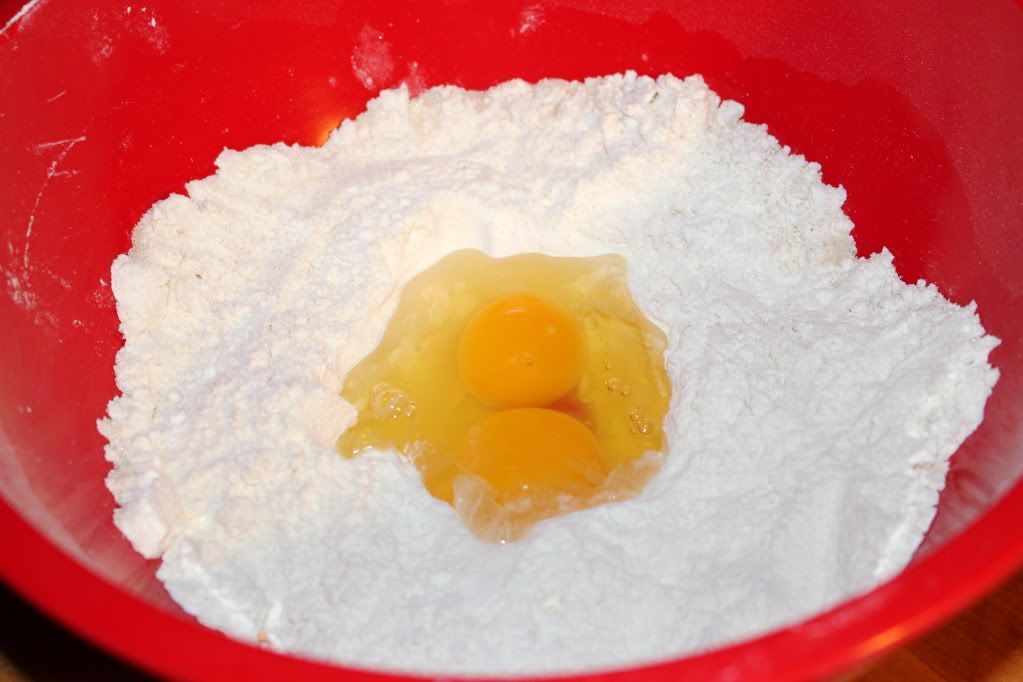
2. Make a well inside the dry ingredients and crack both eggs into there. Add oil and orange juice and then stir to combine.


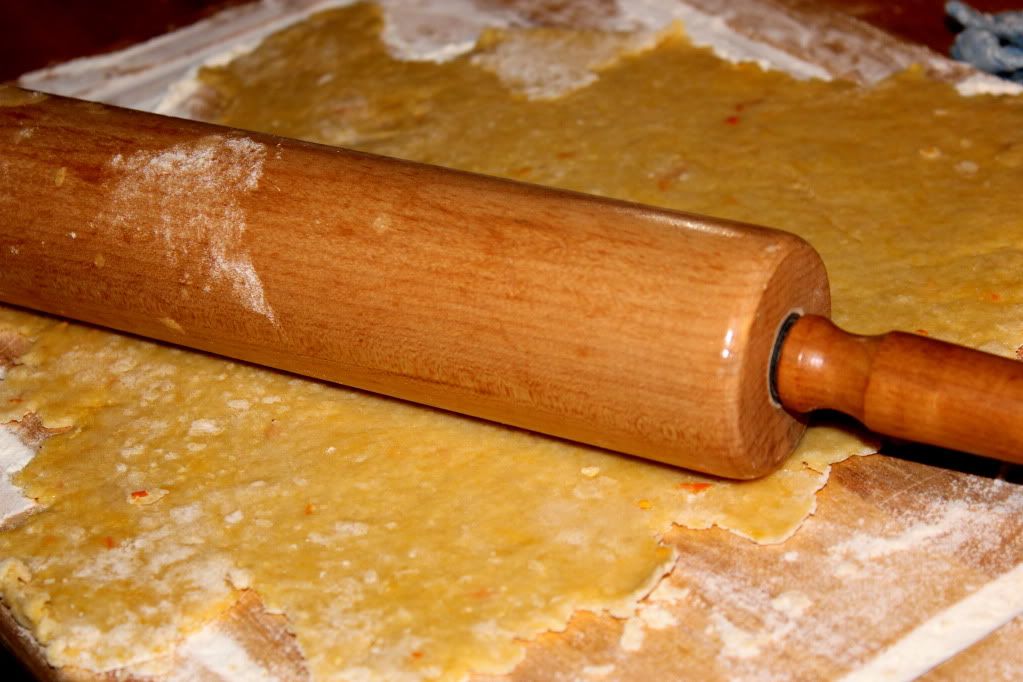
3. Knead dough and then dump out onto floured surface. Using a rolling pin, flatten to 1/8".


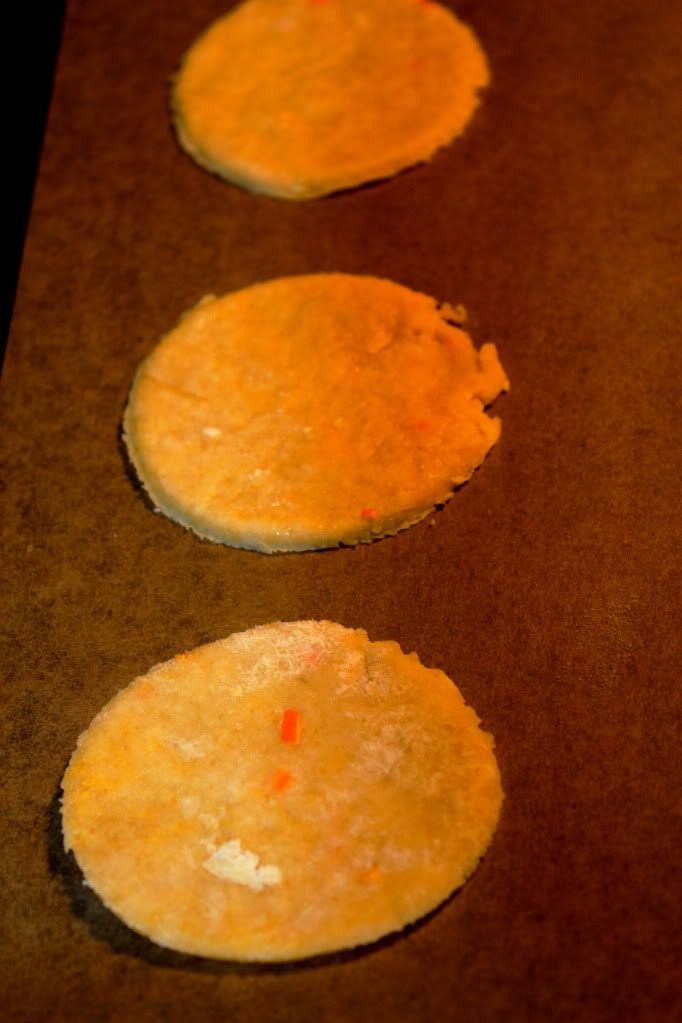
4. Cut out circles from dough about 2.5" in diameter. We just used a drinking glass and it came out fine.


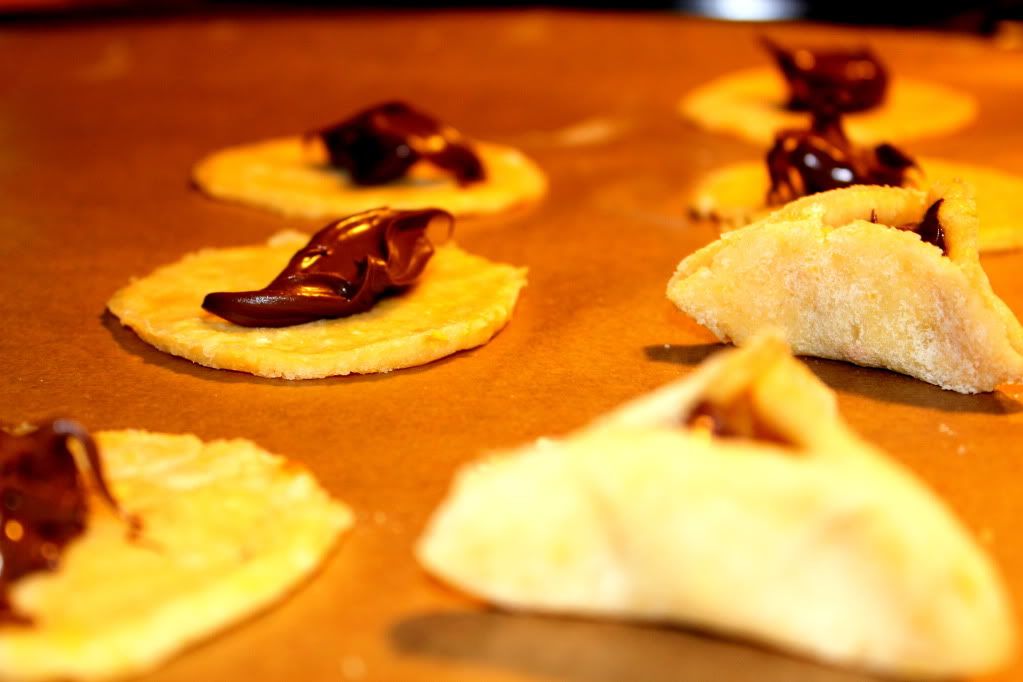
5. This is where having a little sous-chef comes in handy. He cut out the circles while I filled them up. Spoon 1-2 teaspoons of filling into the center of the circle and fold up sides to make a triangle, pinching at the corners. We made half the dough with apricot jam filling and the other half with Nutella. 

Nutella

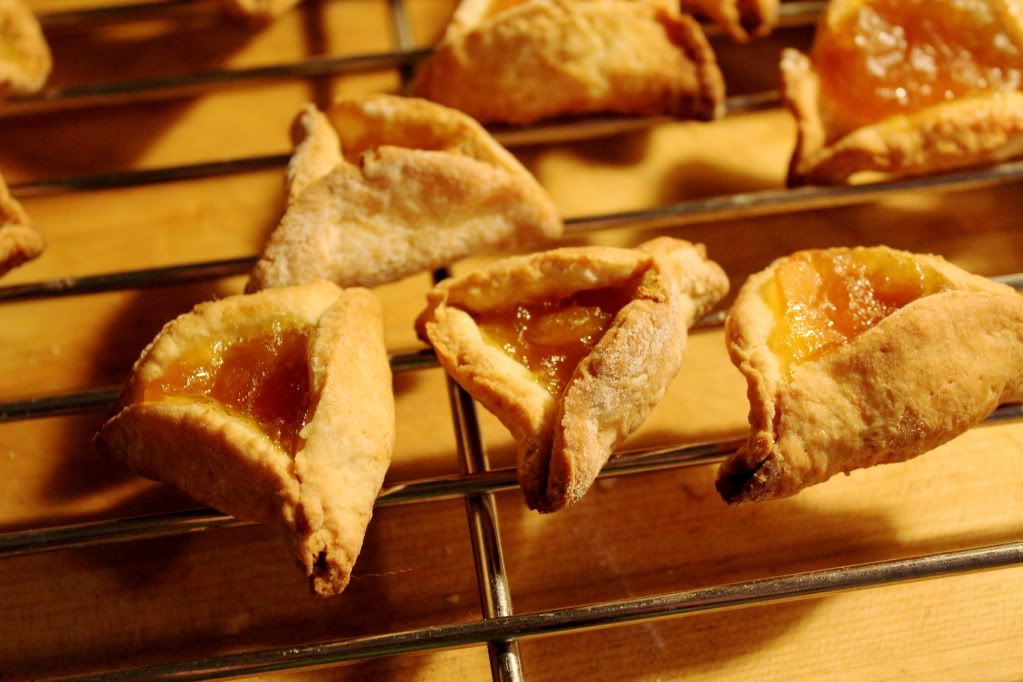
Apricot

6. Bake in a preheated 350* oven for 20-25 minutes, until golden brown.

Apricot Hamentashen cooling off

Nutella Hamentashen ready to be devoured

Allow to cool before scarfing down with a glass of milk. These are so good, you might just want to share them. Or not. 

Saturday, March 12, 2011

Tea Is For Cookie

Do you think the song would have caught on if Cookie Monster held his furry, blue pinky out while sipping some Earl Grey?


Hmm...probably not. But, since I'm not a coffee drinker <gasp!> I'm always on the look out for cookies that will pair nicely with a nice, hot cup of tea. I think I may have found just the one with this Spiced Almond Wafer. 

This cookie is another one from my Martha Stewart Cookie Book, and it will definitely be one that I'll be  making again. Not only were they tasty, but they were pretty easy to make. 

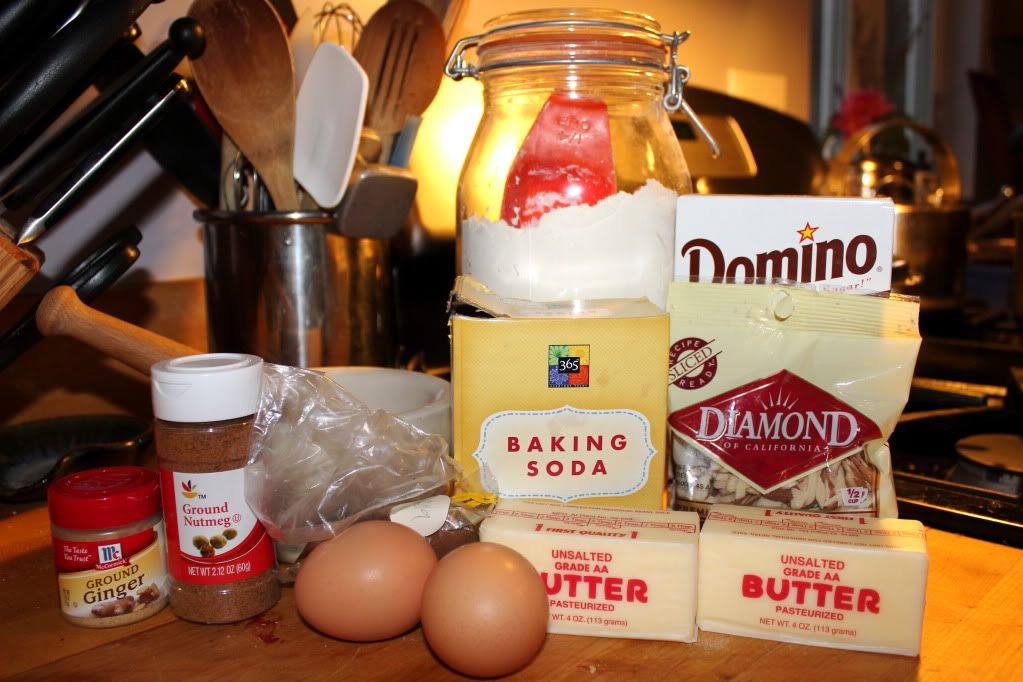
Ingredients


3 cups flour
1 teaspoon baking soda
1/4 teaspoon salt
2 sticks unsalted butter at room temp
1 1/2 cups packed dark brown sugar
2 large eggs
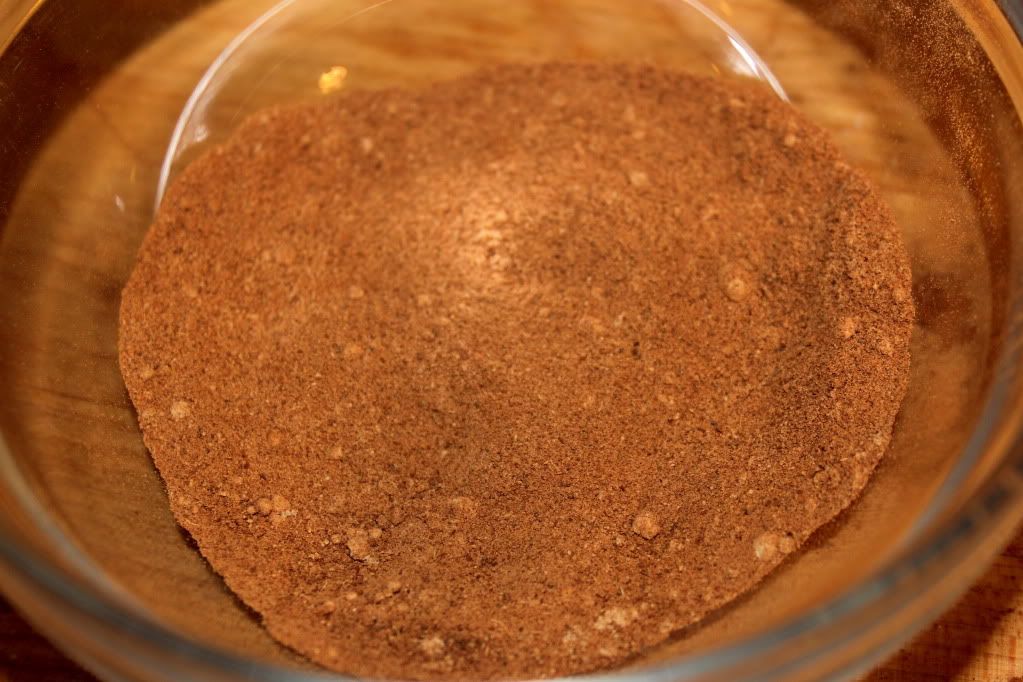
2 teaspoons ground cinnamon
1 1/2 teaspoons ground ginger
1/2 teaspoon ground nutmeg
1/4 teaspoon ground cloves
1/4 cup sliced, blanched almonds

Directions

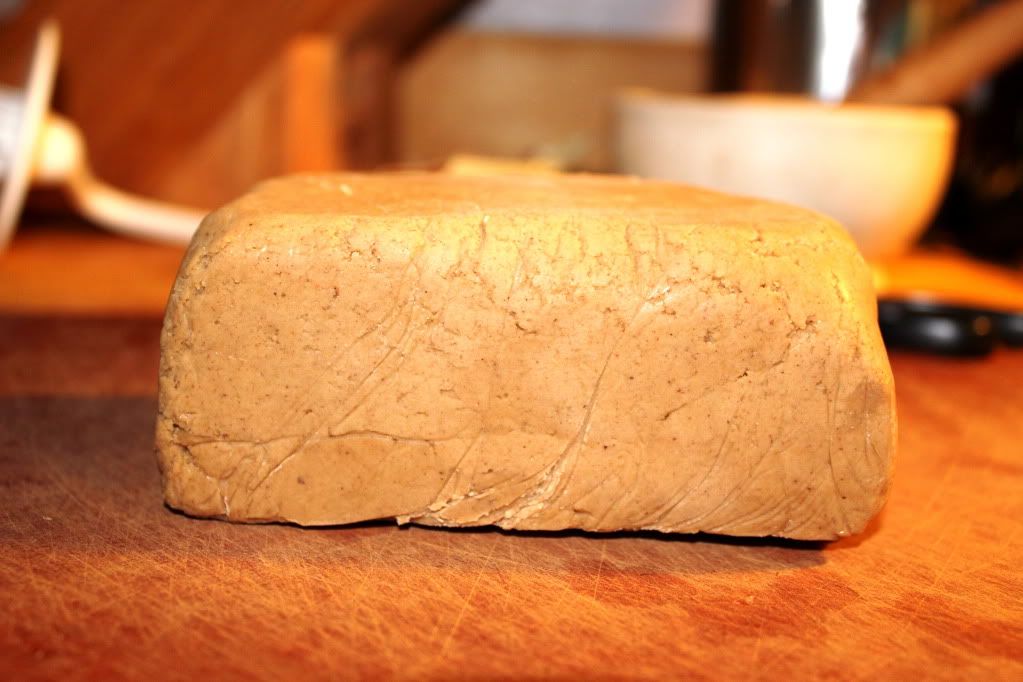
1. Line two mini loaf pans with plastic wrap. I got crafty here and used one mini loaf pan and a plastic mini box from my son's lunch box. Unlike Martha, I don't just have mini loaf pans laying around. 

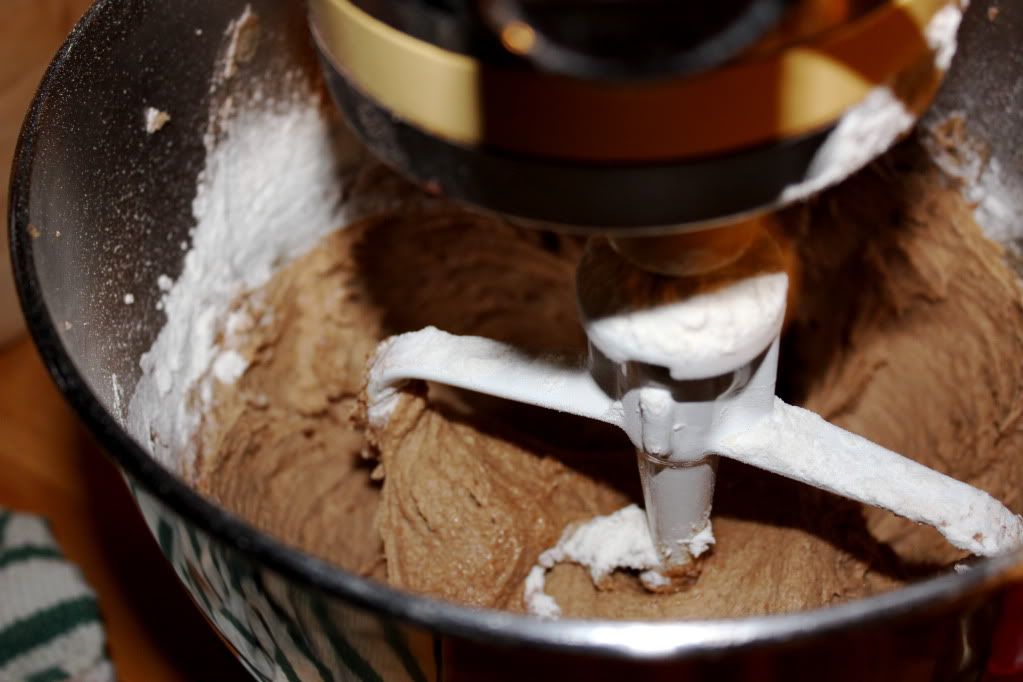
2. Whisk together flour, baking soda & salt. Beat butter and sugar with a mixer on medium speed for 4 minutes. Reduce speed to low and add in eggs and spices. 


Beat in flour mixture in 3 additions.


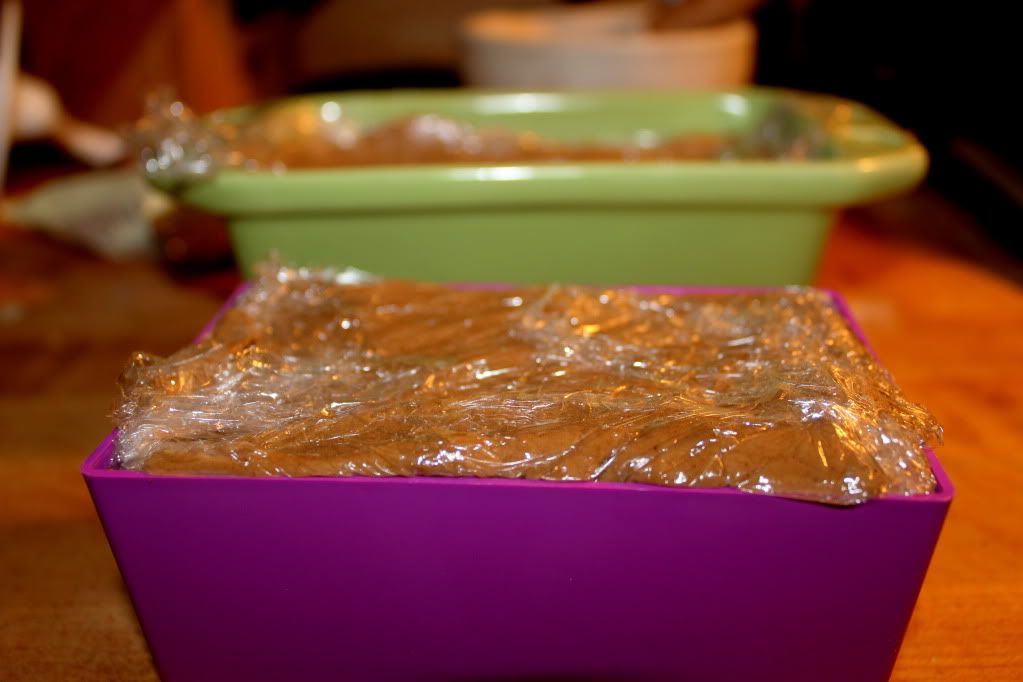
3. Press cookie dough into pans and cover tightly with plastic wrap. Freeze for 1 1/2 hours or up to one month! 
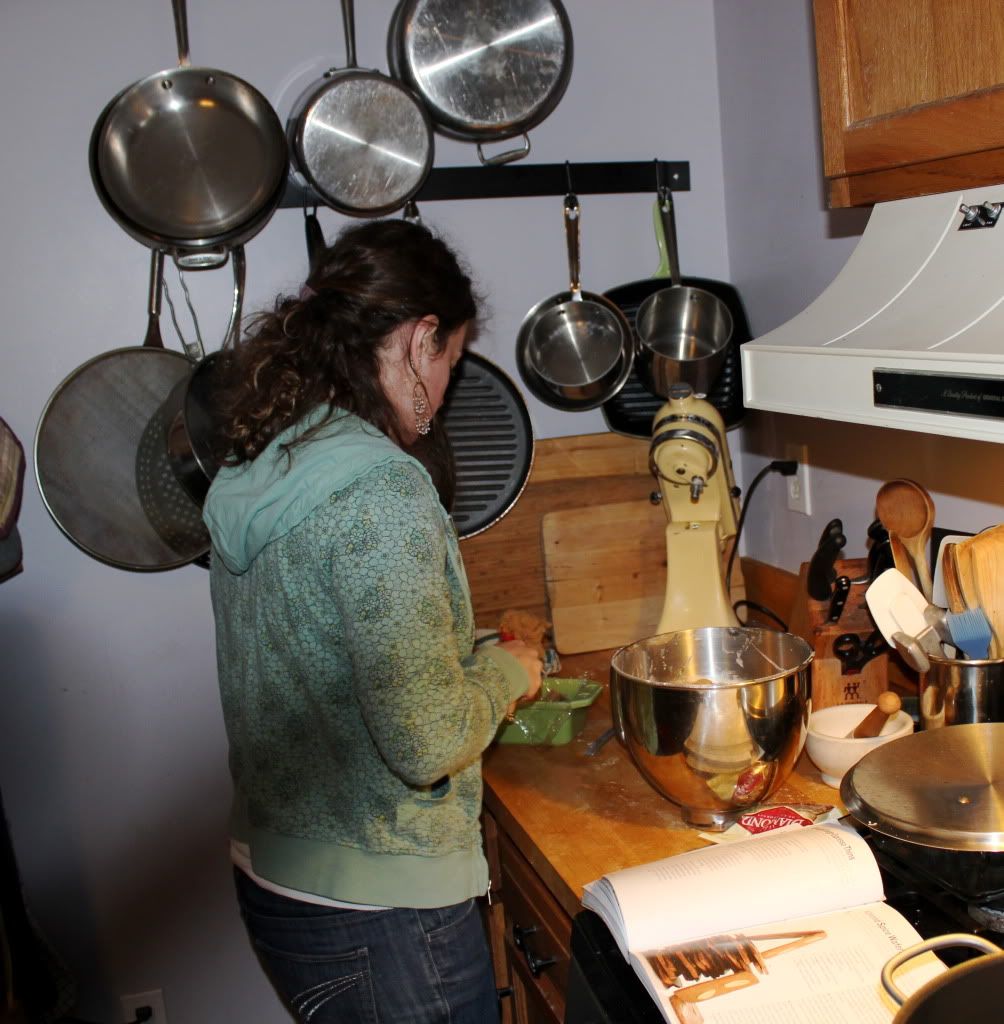
An "Almost Chef" sighting! Pressing the dough into the mini loaf pans

1 actual mini loaf pan (in back) and 1 makeshift pan - worked out perfectly

4. Preheat oven to 400 degrees. Remove dough from 1 pan. Let soften slightly. 


Cut eight 1/8-inch- thick slices with sharp knife. Unlike Martha, my knife skills aren't all that amazing, so, I have no idea the exact thickness of my slices, but I managed to get a lot. 

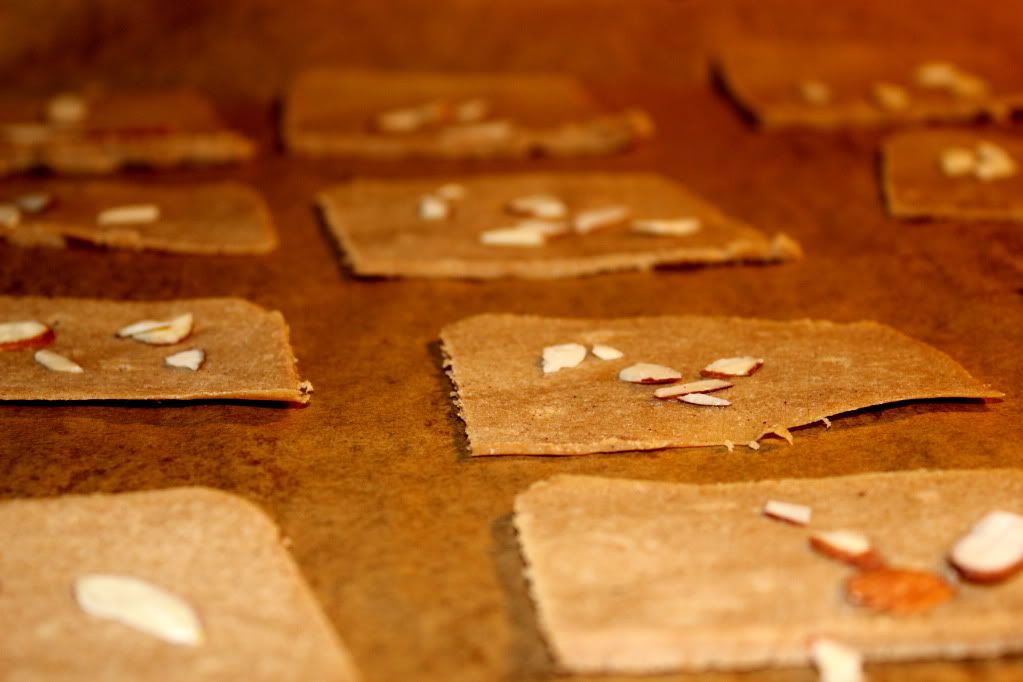
5. Cover remaining dough and freeze until ready to use. Place slices 1 1/2 inches apart on a cookie sheet lined with a nonstick baking mat. I used parchment paper, and probably didn't space them that far apart either. Look at me breaking all the rules! 

Don't forget to press a few almond slices on each cookie right before you bake them!


And you know what? They came out just as well...

6. Bake until dark golden brown, about 10 minutes. Let cool on sheet on a wire rack. 


Read more at Marthastewart.com: Spiced Almond Wafers - Martha Stewart Recipes 

The cookies ended up being the perfect compliment to a nice mug of tea, although my folks (who enjoyed a fresh batch themselves) suggested easing up on the ginger. The nice thing about these cookies is that you can adjust the spices to your own taste...jazz them up, tame them down...either way, the texture and sweetness is probably just enough to get Cookie monster to change his tune...

Friday, February 25, 2011

Forcing Springtime


I really do my best to eat in season...meaning that I walk right by the peaches, plums and cherries that are currently at the end cap of the produce section at the big chain grocery store. That means that I get my fill of butternut squash dishes in the fall and wintertime and it means that I usually wait until Spring hits for that first farm-fresh, local asparagus.

But...I failed. I just couldn't do it.

Blame it on the week of school vacation my son had (while my husband continued to go to work as usual).

Blame it on the frigid temps and grey skies.

Or blame it on the snow and ice we just got today.

Around 4PM as cotton ball like snow fell

Regardless of the reason, all willpower was set aside as I grabbed the prettiest bunch of asparagus at the store the other day.


See? Can you blame me? I know it wasn't local or even organic, but it was calling to me. It was reminding me that soon little shoots will be making their way through the frozen ground and the sun will be shining longer and warmer...no matter how impossible that seems now.

I then took that beautiful asparagus and turned it into a meal fit for the Equinox. Using Eating Well's Lemony Asparagus Pasta as a template, I made a dinner rich in flavor that helped to remind me that (hopefully) Spring is right around the corner, no matter what the forecast says.

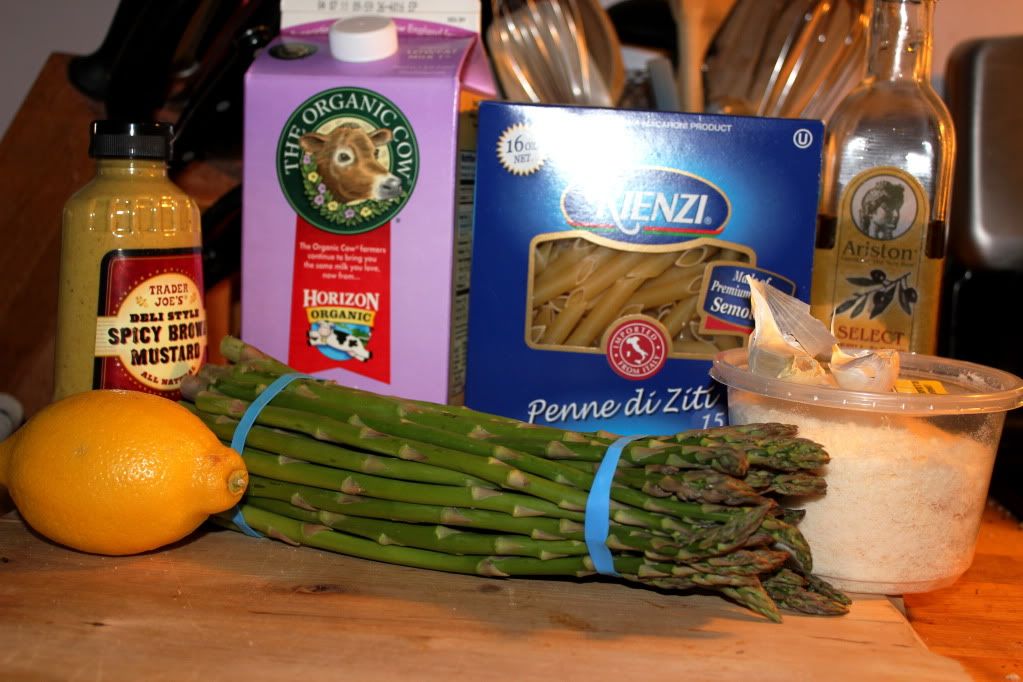
Ingredients:


1 box penne pasta

1 bunch asparagus, trimmed and cut into 1" pieces

3/4 cup milk (I used 1% and it still came out creamy!)

1 teaspoon brown mustard

2 teaspoons flour (oops, forgot to include that in the pix!)

1/2 teaspoon salt

a few grinds of pepper

1 teaspoon olive oil

2 garlic cloves, minced

1/2 teaspoon of lemon zest

Juice of 1 medium lemon

1/2 cup of Parmesan cheese, shredded

Preparation:

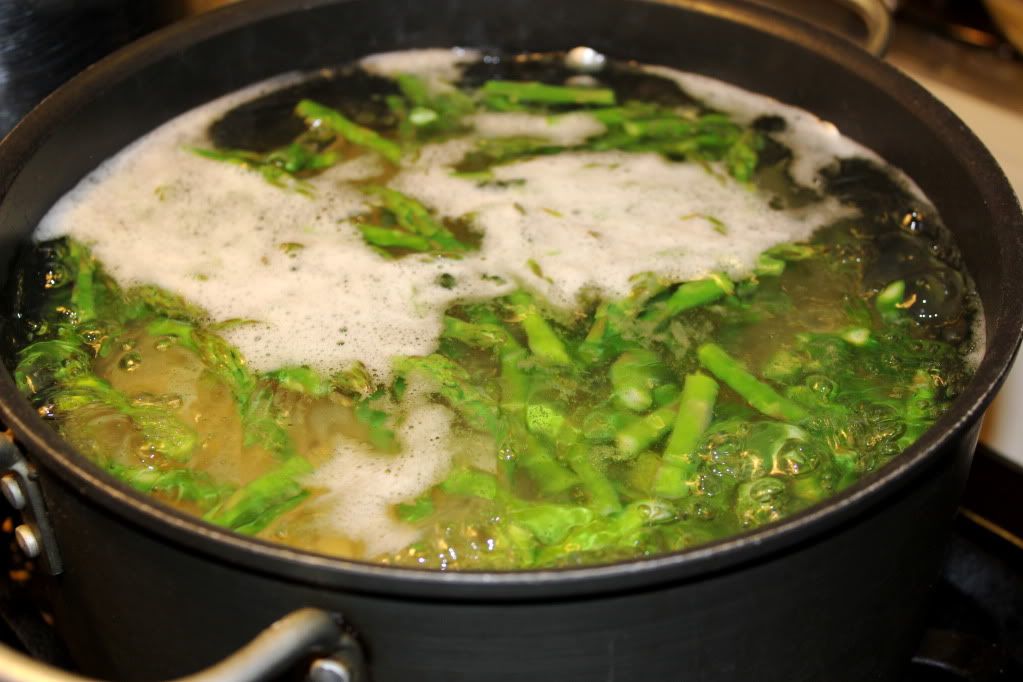
Bring a pot of water to boil and add pasta. Cook for 6 minutes. Add asparagus and cook for 3 more minutes. Drain water and set aside.

Pasta & asparagus cooking together harmoniously

In a bowl, whisk together milk, flour, mustard, salt & pepper and set aside.

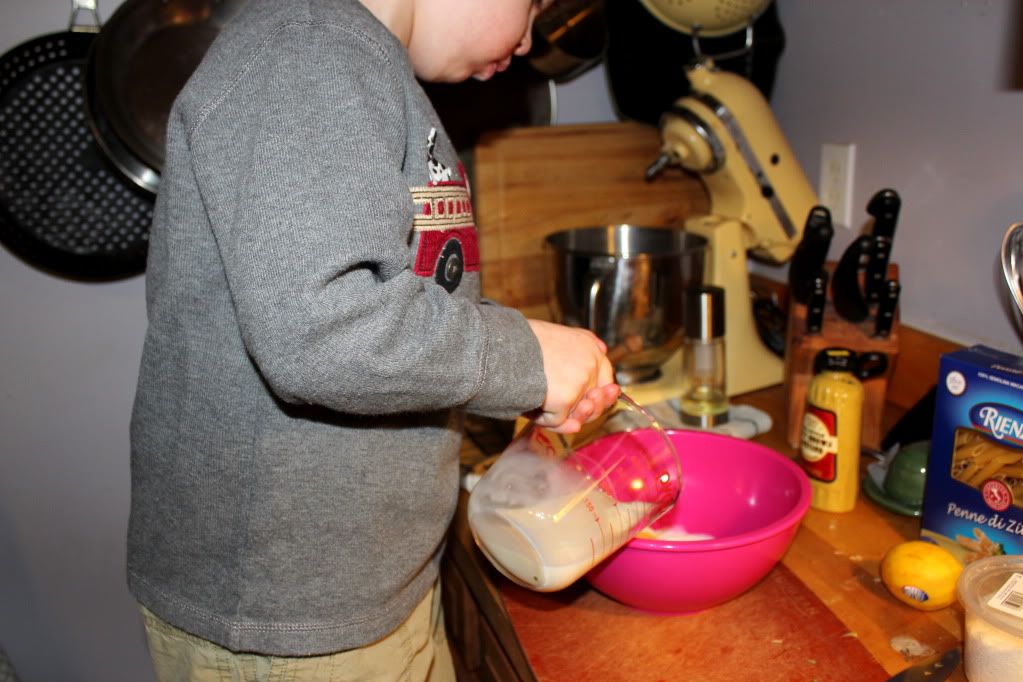
It helps to have your sous chef on hand

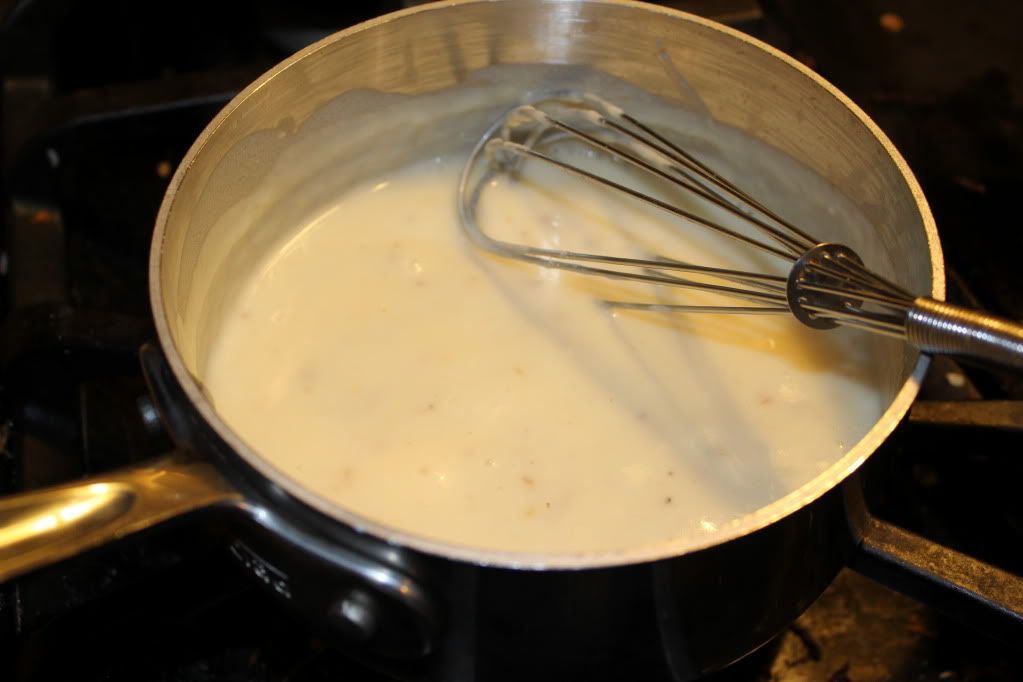
Heat oil in a small saucepan and saute up the garlic until lightly browned. Add in milk mixture, whisking the entire time. Bring to a simmer and continue to stir until it thickens. Add lemon zest, juice and 1/4 cup of Parmesan cheese and stir to combine.


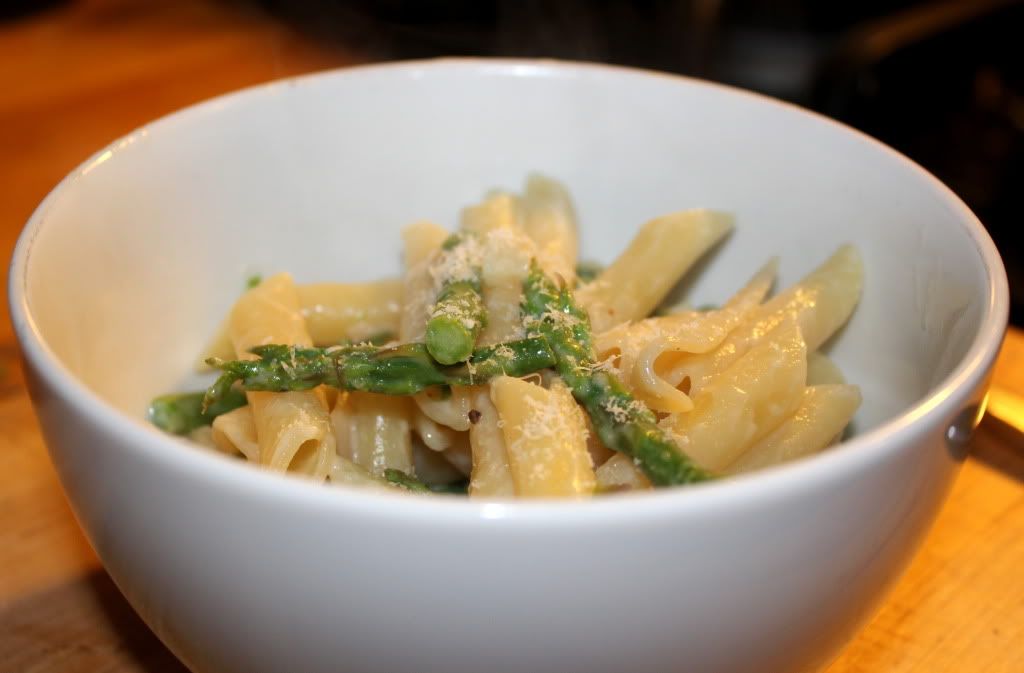
Add sauce to pasta and asparagus, and mix well. Sprinkle the rest of the Parmesan cheese in, right before serving.

nom.

Tuesday, February 15, 2011

Valentine's Day Shortbreads

Once upon a time I had a culinary dream: To make every single one of the cookies featured in Martha Stewart's Cookies. 


Granted, as far as culinary dreams go, this one isn't as lofty as say, the Julie/Julia Project or Cooking With My Kid, but as somebody who really likes cookies, I thought it had some merit. 

However, my dream was quickly dashed after attempting a handful of various cookie recipes all in the same weekend. The amount of sugar and butter that I used absolutely was a little ridiculous, and I just couldn't see myself being that indulgent so frequently. 

That doesn't mean that I gave up on my dream entirely. Oh, no. In fact, we frequently make many of the cookies from this cookbook. I just don't make a different cookie every single day. 

Special occasions, however, definitely call for cookies and Valentine's Day is no exception. I flipped through the book, trying to decide just which cookie got to be our special Valentine cookie. I went past some of my favorites (Grammy's Chocolate Cookie, PB&J Bars, Homemade Thin Mints) until finally settling on the Cranberry Shortbread Hearts. Martha must have had Valentine's Day in mind when she created these. The red flecks of dried cranberries and the heart shaped cookies definitely help you feel the love. 

I followed the recipe almost exactly, with one small exception (which I'll note in red). 

INGREDIENTS
- 1 cup (2 sticks) unsalted butter, room temperature
- 3/4 cup sifted confectioners' sugar
- 1 tsp vanilla
- 2 cups sifted all-purpose flour
- 1/2 tsp salt
- 1/2 cup finely chopped dried cranberries or cherries

Directions:
Heat oven to 325 degrees with a rack in the center. Combine butter, confectioners' sugar, vanilla, flour & salt in a large mixing bowl. Beat with a wooden spoon until combined but not too creamy. Stir in dried cranberries
(Here is where I went off script. I decided to use my trusty Kitchen Aid to mix all these ingredients in lieu of a wooden spoon. Martha would be shocked, but I was pleased...it was super easy, came out like it's described in the cookbook and I didn't even break a sweat!)


Pat dough evenly into an 8 or 9 inch square baking pan.


Bake until just  beginning to turn golden, about 20 minutes (the time in my cookbook says 30, the time on her website says 20. I baked 33 minutes!).


Place pan on cooling rack until cool enough to touch, about 20 minutes. Run knife around edges, remove shortbread and transfer, right side up to work surface. Use 1 1/2 to 2-inch heart cookie cutter to cut out cookies.


Use a paring knife to trim stray bits of cranberry from edges. Cookies will keep for 5 days at room temperature in an airtight container.


(Read more at Marthastewart.com: Dried Cranberry Shortbread Hearts - Martha Stewart Recipes) 


Love.

Sunday, February 13, 2011

Carrot Cupcakes


I've been a bit blogger fail this past week. I made challah with my son Friday and fully intended to share the experience on the blog, only to have completely spaced when it came to that all important part of taking pictures. 

I'm hoping that Friday challah baking becomes a weekly habit, so hopefully there will be multiple opportunities to make up for this past week's oversight. In the meantime, I made certain to overcompensate with lots of photos of this morning's adventures in carrot cupcakes. I took a well loved carrot cake recipe and did a little of this...and a little of that...and voila: deliciously moist carrot cupcakes.

Carrot cupcakes in a bag: We were visiting my folks, so I brought all the ingredients I needed with me!

 The recipe itself is pretty simple and straightforward. It came from a friend of my mother's and it's my go to carrot cake recipe.

Ingredients
2.5 cups flour
2 tsp baking powder
1.5 tsp baking soda
3 tsp cinnamon
1 tsp salt
1 3/4 cup sugar (the original recipe calls for 2 cups, but I never use that much)
1.5 cups vegetable oil
1/2 cup apple sauce
4 eggs
2 cups grated carrots (I only used that 1 large carrot and it yielded just over two cups! yay for local veg!)
8.5 oz can crushed pineapple, drained
1/2 cup raisins (I used more like 1 full cup)
1/2 cup chopped crystallized ginger
(You can also add in chopped nuts, cranberries, figs, etc...this recipe is very change-it-up friendly like that!)

I mixed all the dry ingredients ahead of time at my house - easy peasy!

Preheat oven to 350. Butter and flour 2 trays of cupcake tins (this recipe yields 24 cupcakes) or line them with paper cups. 

Sift flour, baking powder, baking soda, cinnamon and salt together and set aside.

In a separate mixing bowl, beat together sugar, eggs, oil and applesauce until well blended. 


Add carrots, pineapple, raisins, ginger (and whatever other "add ins" you're using). 

All from one large carrot! 

Spicy-sweet goodness. 

I didn't have crushed pineapple, so I just chopped up a can of pineapple rings. 


 Gradually add flour mixture, stirring until *just* combined. Then pour into prepared cupcake tins.


Bake for 25 minutes or until a toothpick comes out from the center clean.


 Now...you can totally eat these as is. They really are quite delicious plain, without any added frosting, but then - where's the fun in that? I decided to whip up a special maple cream cheese frosting for these.

I love that my parents still put their syrup in an old honey bear.

I went with my usual cream cheese frosting mixture of one stick softened butter mixed with one package of softened cream cheese. I add a couple of tablespoons of milk and 1 lb of powdered sugar. Instead of vanilla, however, this time I added a couple tablespoons of grade A maple syrup. The flavor complimented the carrot cupcakes perfectly.

Yum.